Shadeland Canopy Installation in One Tree Point
This recent One Tree Point project was designed for a homeowner who had recently moved into her new place and wanted to create a more comfortable outdoor area. She was looking for extra shade over her deck so she could enjoy the space more often, while also having protection from Northland’s changing weather.
Step 1: Understanding the Space
We started by looking at the deck area and discussing what the homeowner wanted from the finished canopy. The goal was to create a structure that would provide practical shade and shelter, while also complementing the style of the home.
Step 2: Careful Measuring and Planning
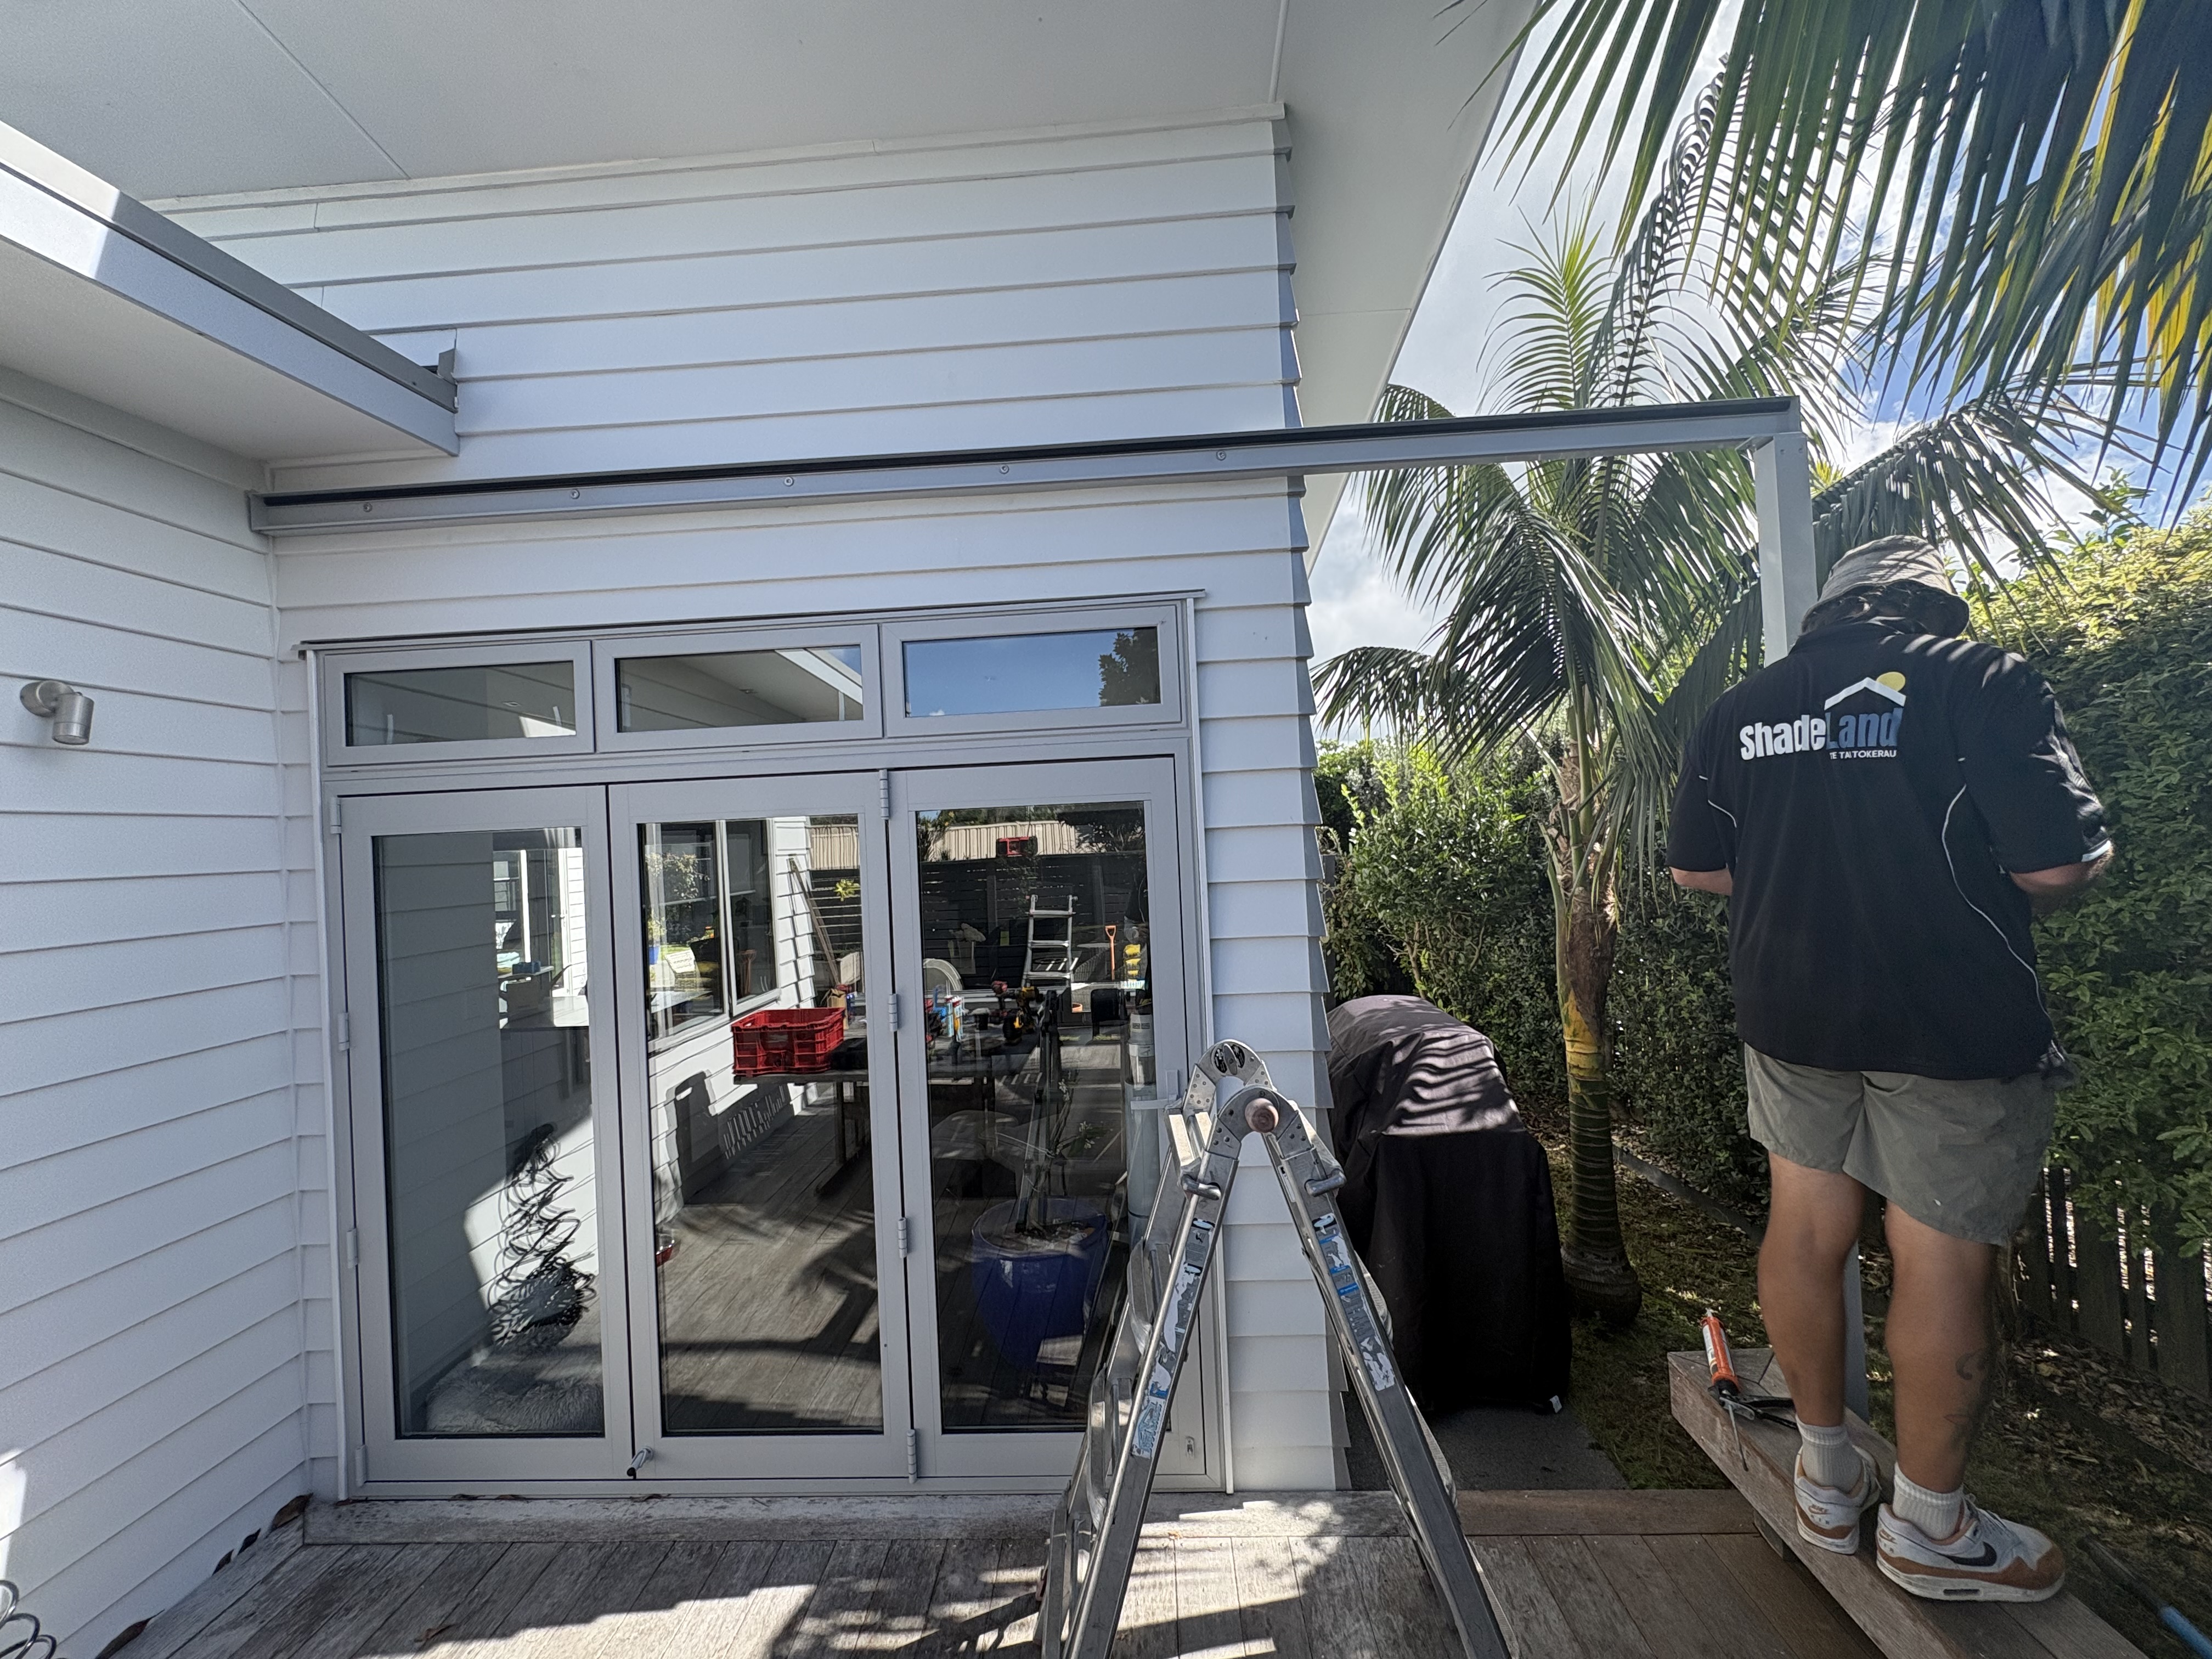
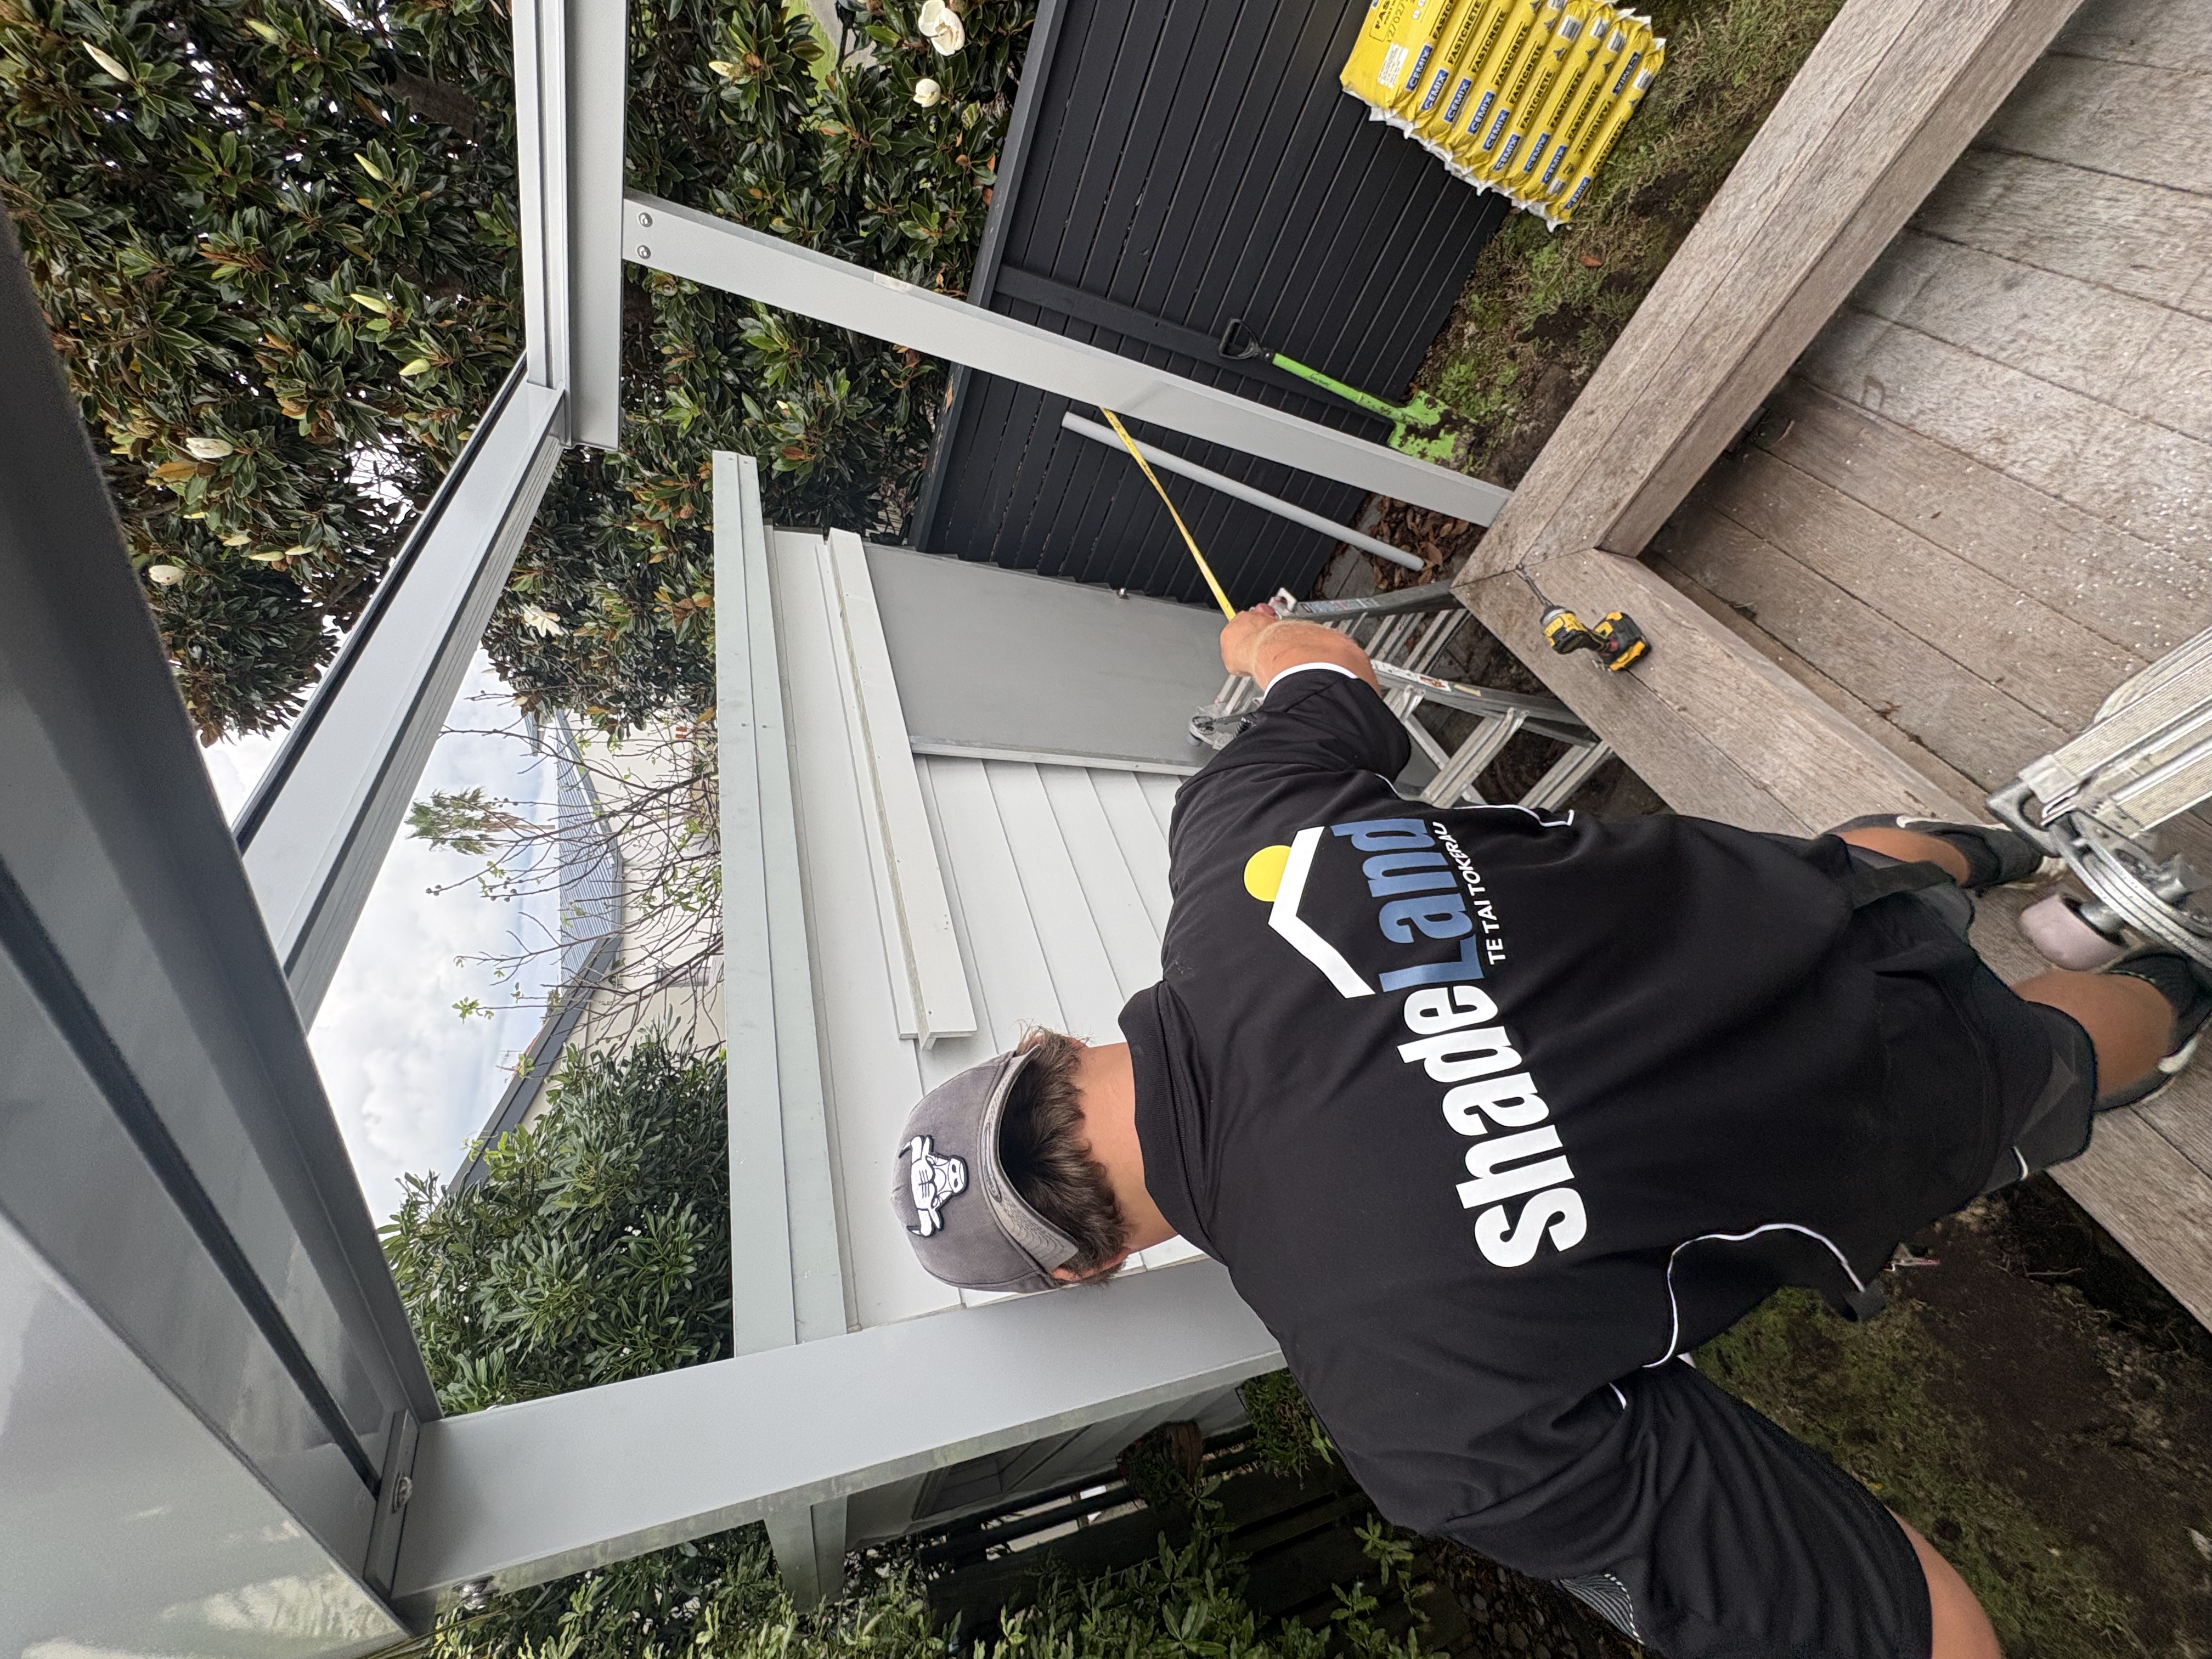
Once the design direction was clear, we carried out a detailed site measure. This project required the canopy being direct fixed under the soffit and up to the weatherboard. This allowed us to create a strong connection to the home while ensuring proper weatherproofing, which is especially important in Northland’s high rainfall.
Step 3: Preparing for Structural Support
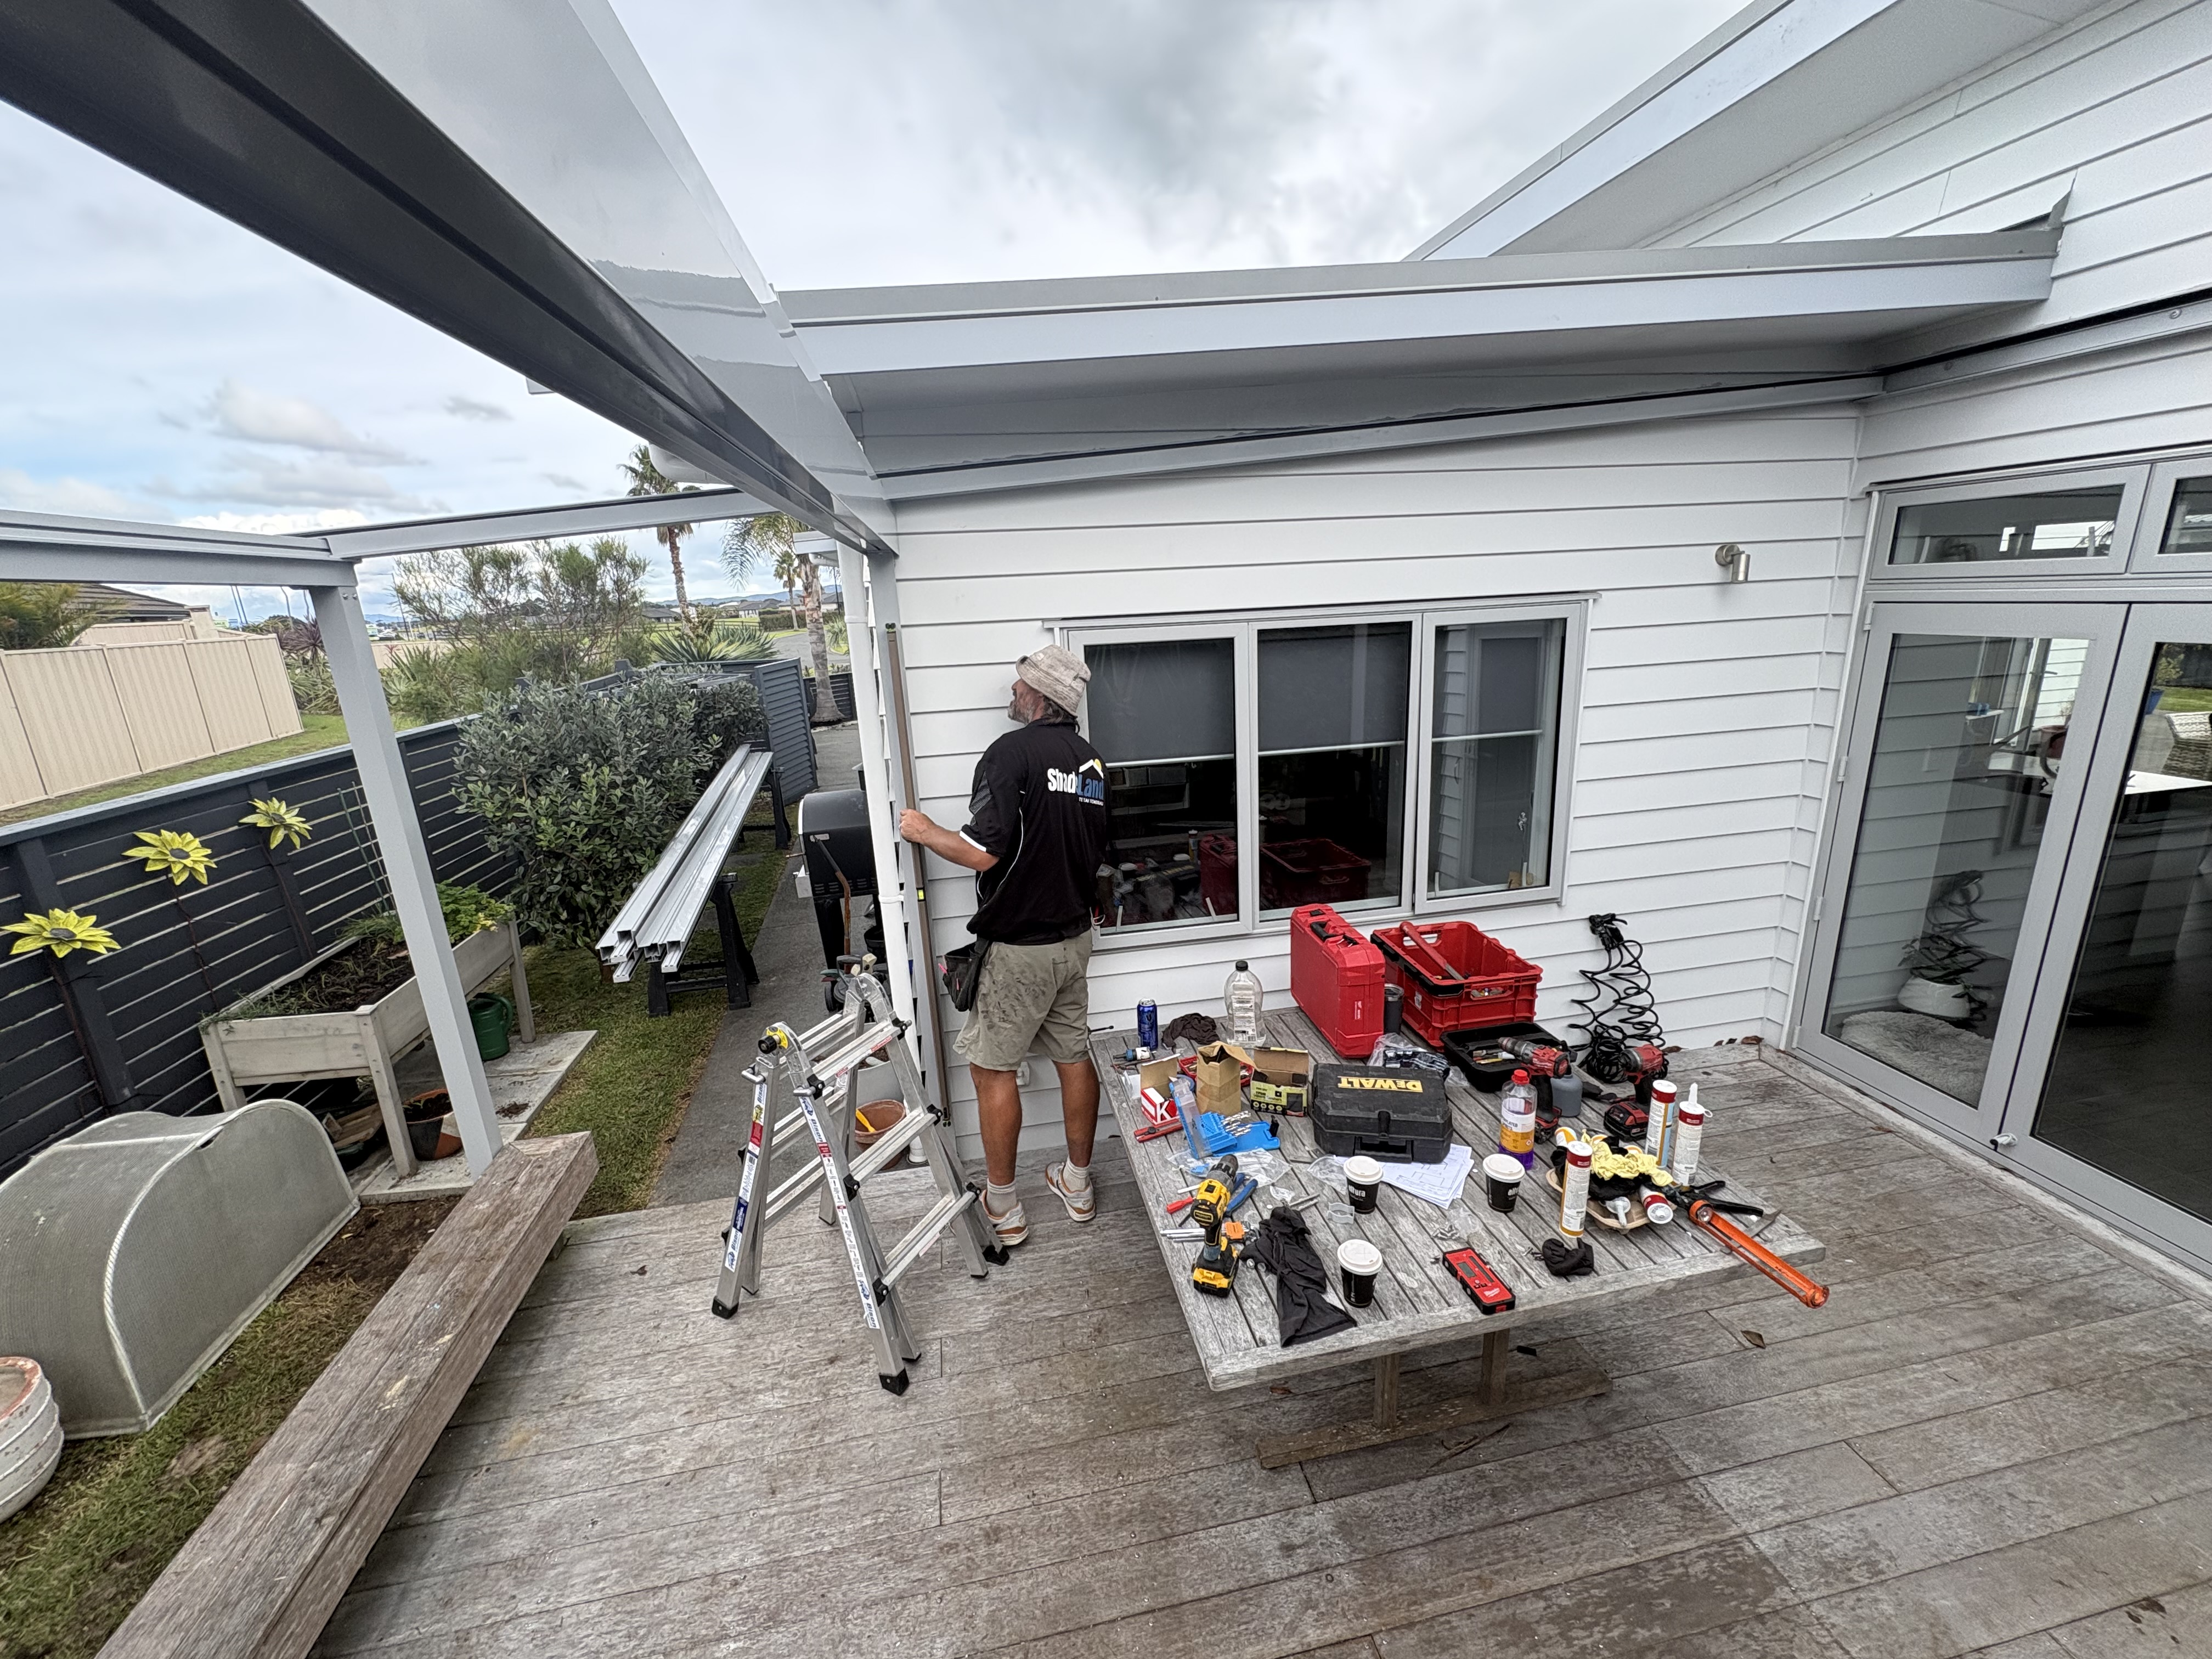
As part of the measuring and planning stage, we made sure the middle structural support beam was positioned correctly. This is an important part of the canopy design, helping provide strength and stability across the structure.
Step 4: Installing Strong Foundations
To make sure the canopy would remain secure the support posts were installed into dug out concrete footings. This gives the structure a strong base, provides reliable support, and helps prevent any possible uplift in windy conditions.
Step 5: Matching the Home
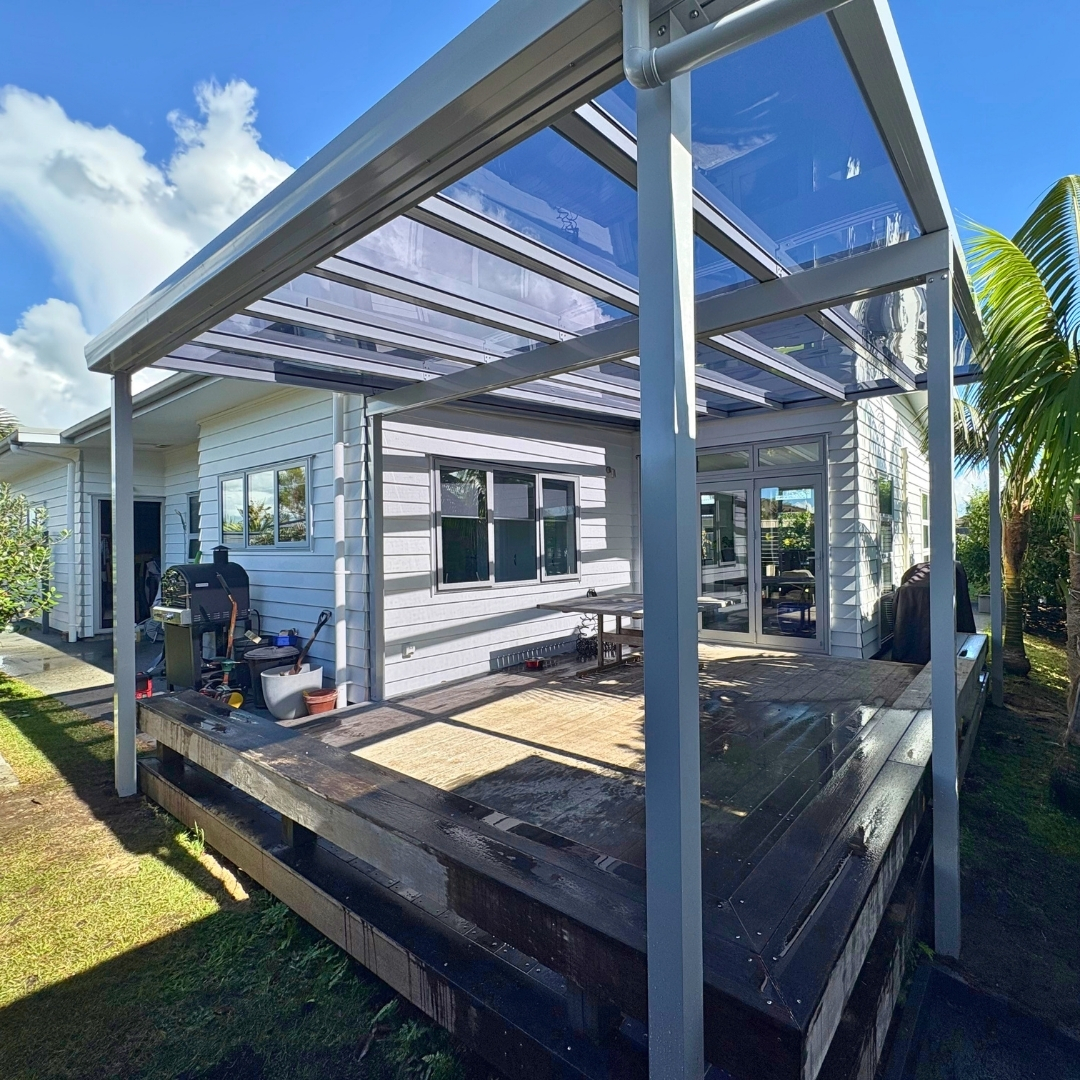
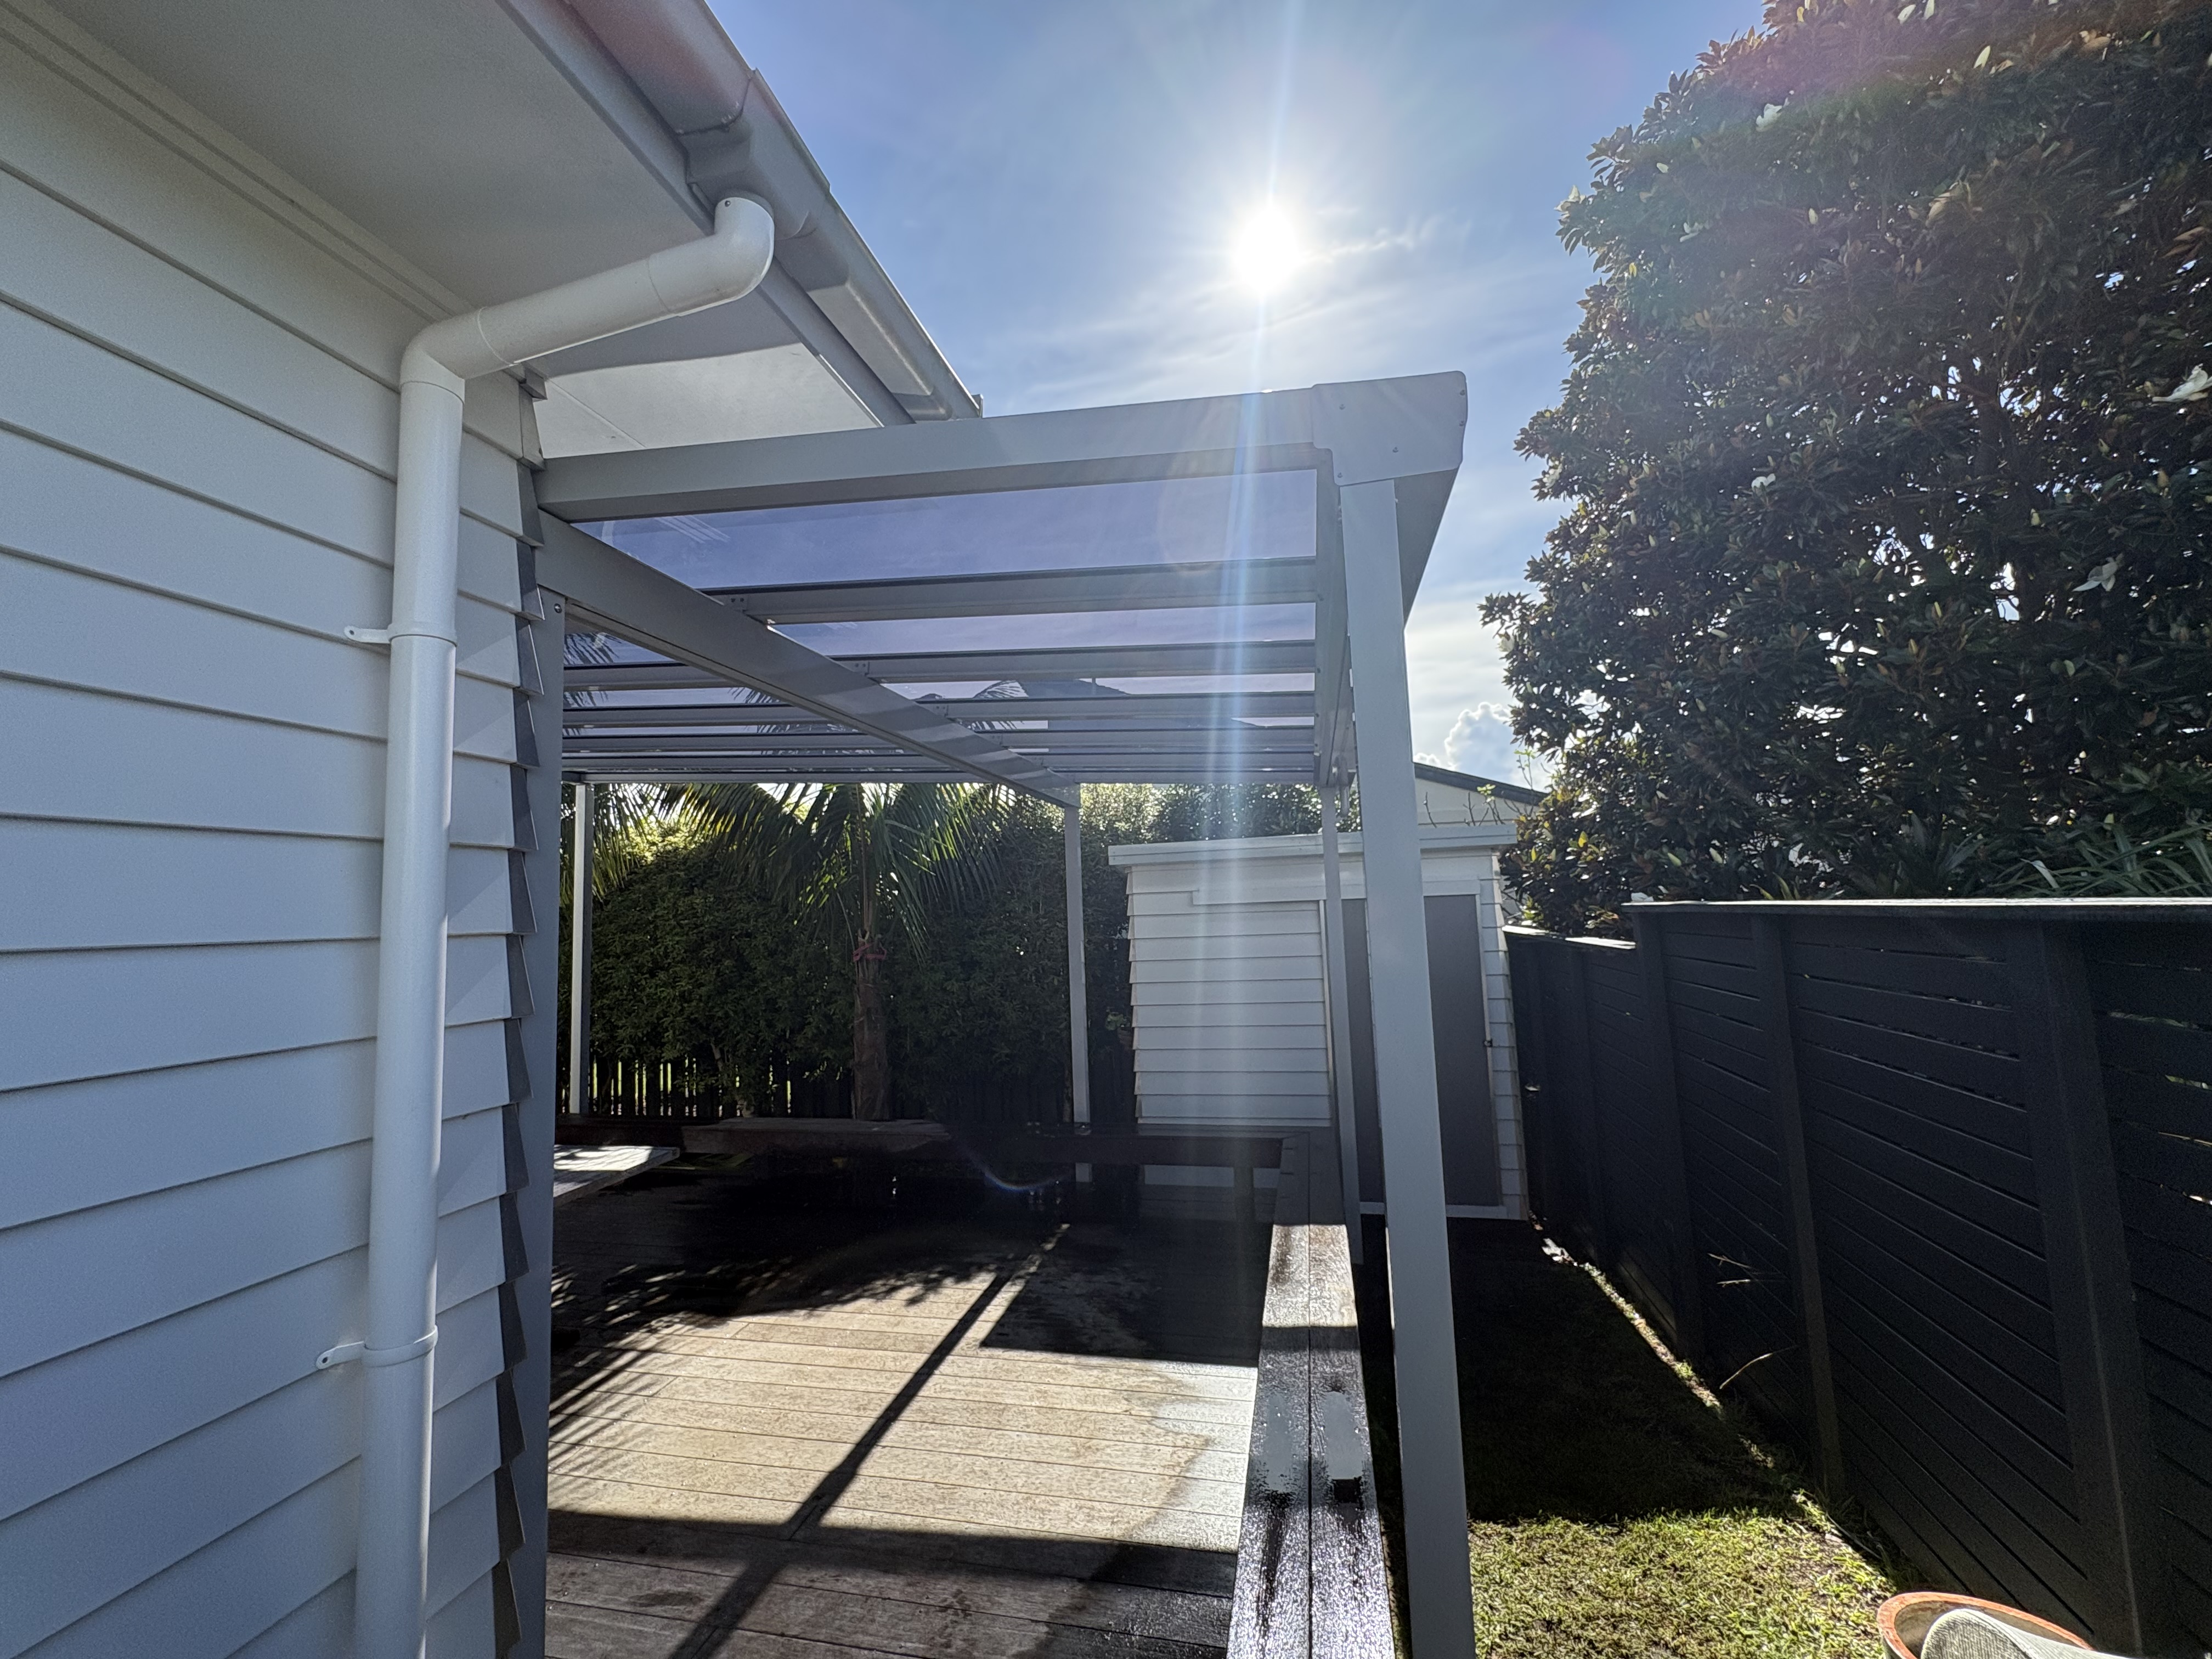
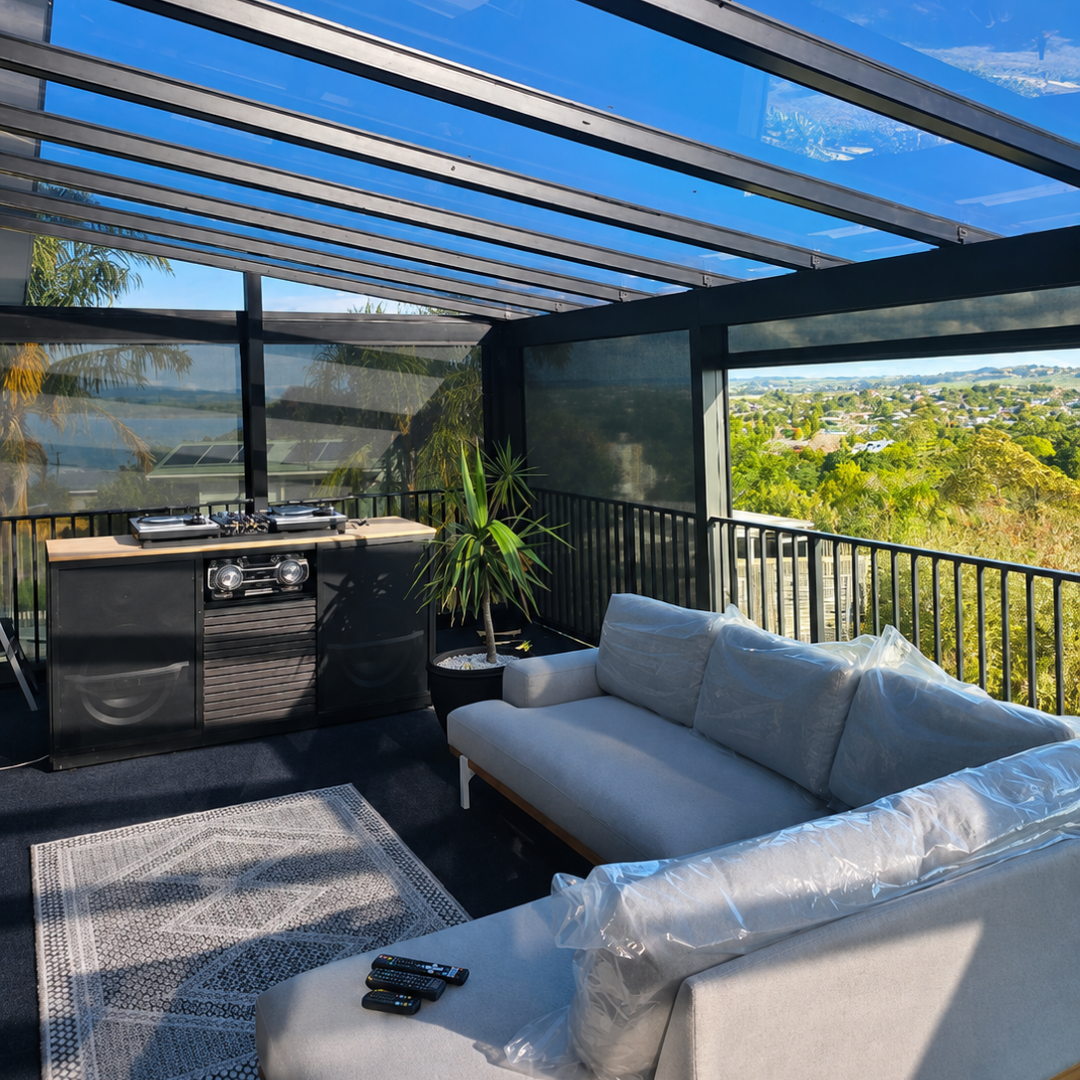
With the structure in place, attention turned to the overall finish. The canopy was completed in a beautiful ghost grey frame colour along with Shadelands clear tinted panels to match the homeowner’s house, creating a clean and seamless look that blends in with the existing exterior.
Step 6: The Finished Result
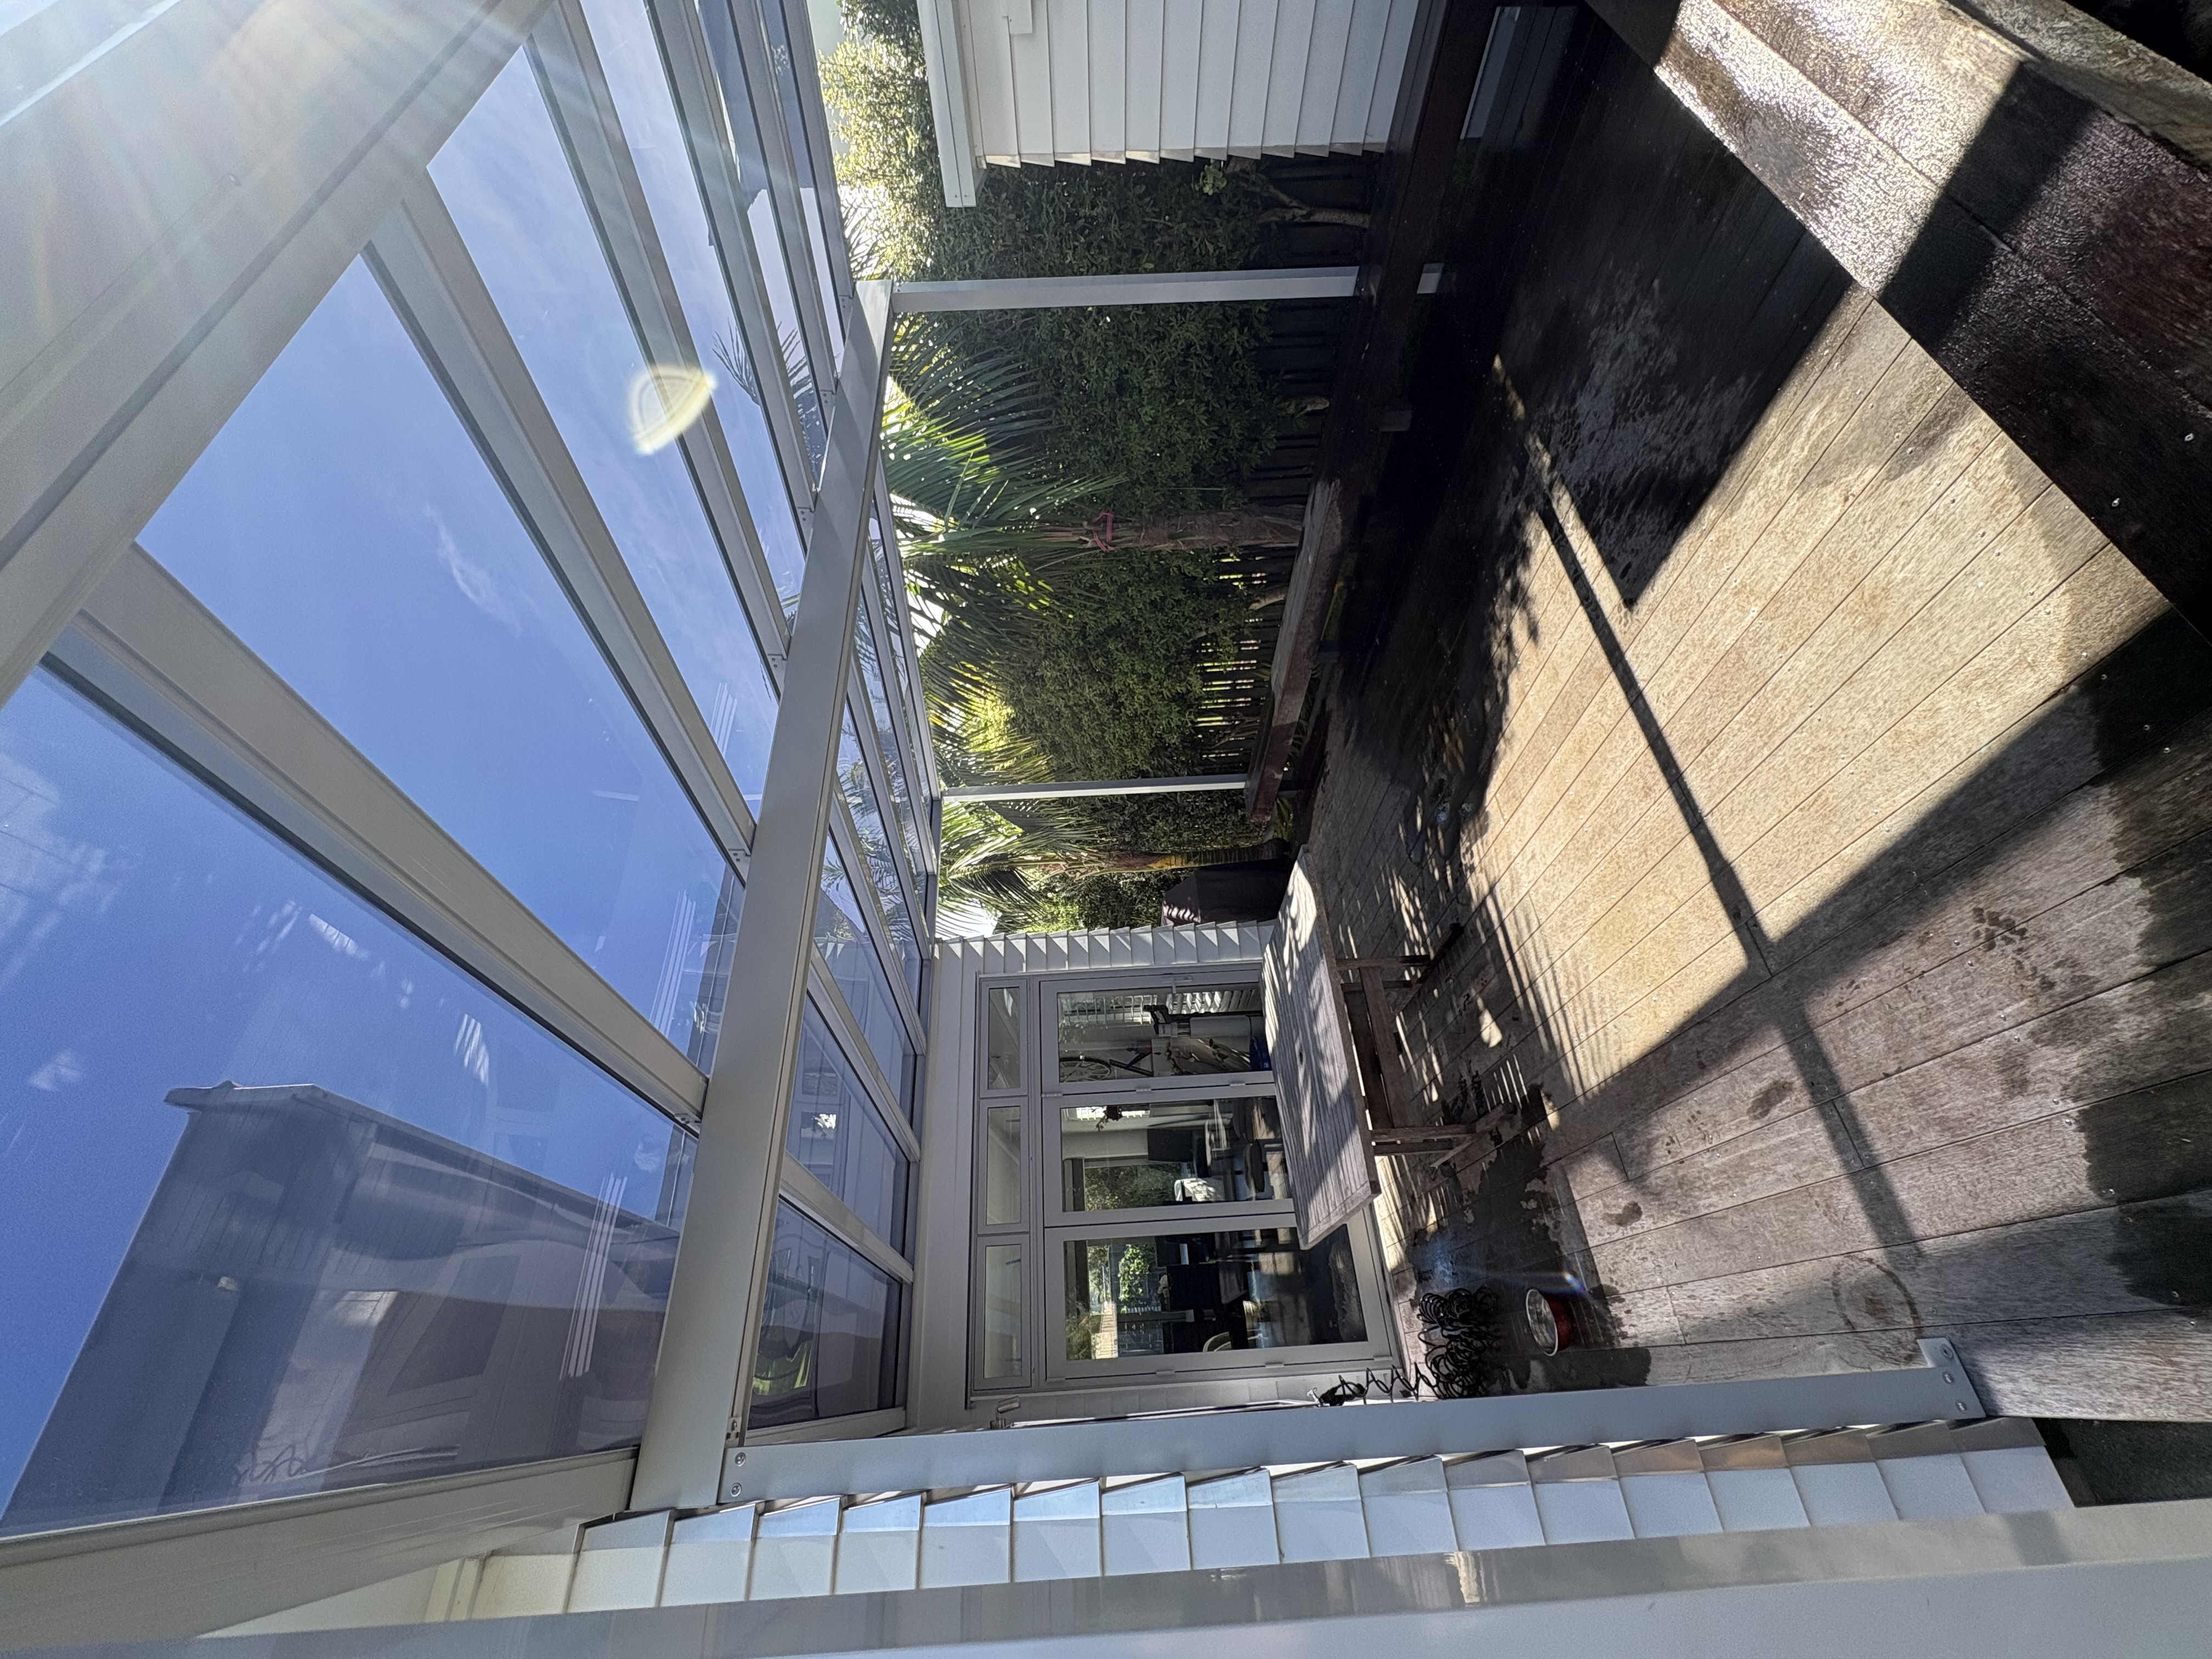
The end result is a strong, stylish, and functional canopy that has transformed the deck into a much more usable outdoor area. The homeowner now has a space that offers shade, shelter, and year-round comfort, all while being designed to handle local conditions.
Project Gallery
Explore Related Projects
Discover more of our installations that utilize the same products.
Residential
Major Outdoor Living Transformation in Onerahi
A complete second-storey deck transformation in Onerahi featuring a custom pergola, Ziptrak blinds, dual drainage and year-round outdoor living.
.jpg)
Residential
A Fully Enclosed Outdoor Space with Pergola, Blinds & Infill
This Northland pergola project combines blinds and infill panels to create a sheltered, modern outdoor space designed for year-round comfort.
.jpg)
FAQs
Choosing the Right Polycarbonate Roof: Clear vs Tinted vs Opal Pergola Panels
Choosing between clear, tinted, and opal roof panels? Here’s how each option performs in Northland conditions, including heat, light, and upkeep.