Replacing an Old Patio Roof with a New Shadeland Pergola
.jpg)
Step 1: Site visit and measure-up
Every good build starts with getting the basics spot on. We visited the site to measure the area, check levels, note any fall needed for drainage, and confirmfixing points against the house.
We also looked at what was already there—especially the existing roof structureand downpipe layout—so we could plan the cleanest, most practical upgrade.
Step 2: Confirming the plan and set-out
Once measurements were confirmed, we locked in the pergola footprint and roofline. This included:
· Post locations (and making sure they’d work with the patio layout)
· Roof pitch/fall for water run-off
· Where the gutter and downpipe would sit
· How we’d connect into the existing stormwater pipe
Getting this rightupfront saves time later and keeps everything looking tidy and intentional.
Step 3: Removing the old roof
We removed the old roof and any associated fixings that were past their best.This stage is all about keeping the site safe and clean, and making sure wedon’t damage areas that will remain (like cladding, fascia, or the surroundingdeck/patio).
Once the old roof wasoff, we had a clear view of what we were working with and could prep properlyfor the new structure.
Step 4: Marking post holes and digging
With the marking out confirmed, we marked the exact post positions and dug the holes for the footings. This is a crucial stage as your pergola is only as good as what it’s anchored into.
We made sure the holes were:
- In the right locations for the roof span and loads
- Deep enough for strength and stability
- Set up to keep posts plumb and true
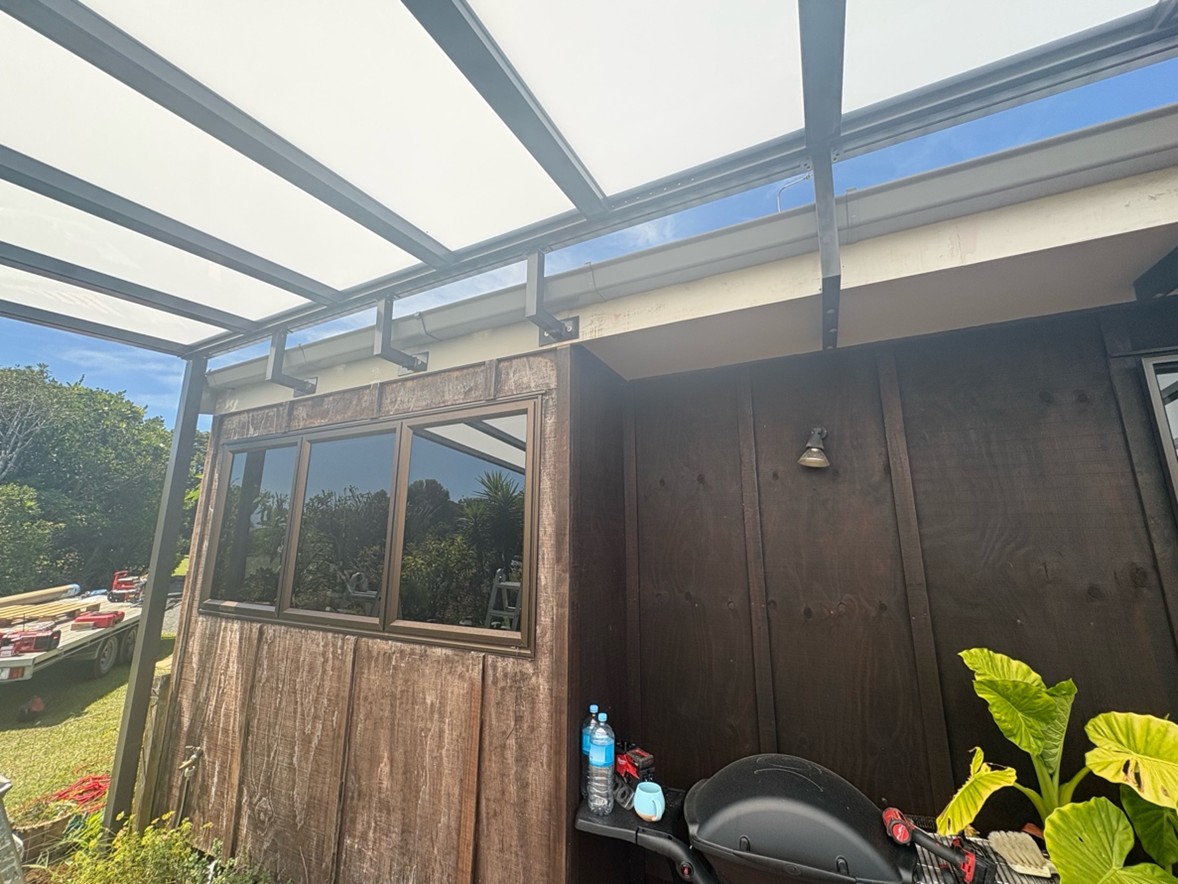
Step 5: Attaching our roof to the house
Once the holes were ready and we had a solid base for the posts, we moved onto attaching our roof to the house. We always aim to do this so the structure looks like it’s part of the home — as if it has always been there.
This can be done using soffit and fascia brackets, like the ones used on this project. We take our time to laser level these brackets to ensure perfect height and correct water runoff into the existing gutter.
For this particular project, aluminium flashing was also measured and installed by the Shadeland team to provide full water protection for the outdoor area.
Step 6: Building the pergola frame
Next we built the main framing and tied it in neatly. This included installing the supporting beams and structural rafters, ensuring everything was fixed securely and straight.
At this stage we also double checked:
- Roof fall for drainage
- Fixings and levels
- Clearances around doors, windows, and outdoor living areas
Step 7: Installing the new roof
With the frame up, we moved onto installing the new roof. This is where the space really starts to transform — suddenly there’s shelter, shade, and the feeling of a proper outdoor room.
We installed the roofing components and finished off the edges cleanly, keeping the lines crisp and consistent with the home. The goal was a roof that looks sharp, performs well in all conditions, and suits the outdoor environment.
Step 8: Gutter and downpipe install
Once the roof was installed, we fitted the guttering and installed a new downpipe to suit the new roof line.
This isn’t just a finishing detail — it’s important for protecting the pergola and surrounding areas while helping manage rainwater runoff properly.
Step 9: Connecting to the existing stormwater line
A key part of this build was tying the new downpipe into the homeowner’s existing stormwater pipe that runs away from the house.
This ensures water from the new roof doesn’t simply discharge beside the foundation or splash back onto the outdoor living area. Instead, rainwater flows efficiently away from the home — which is especially important during the heavy rain Northland can experience.
Step 10: Final tidy, checks, and handover
To finish, we carried out a full check of the structure including fixings, alignment, drainage fall, and the overall finish.
After tidying the site, we walked the homeowner through the completed pergola and explained the installation, along with simple cleaning and maintenance tips.
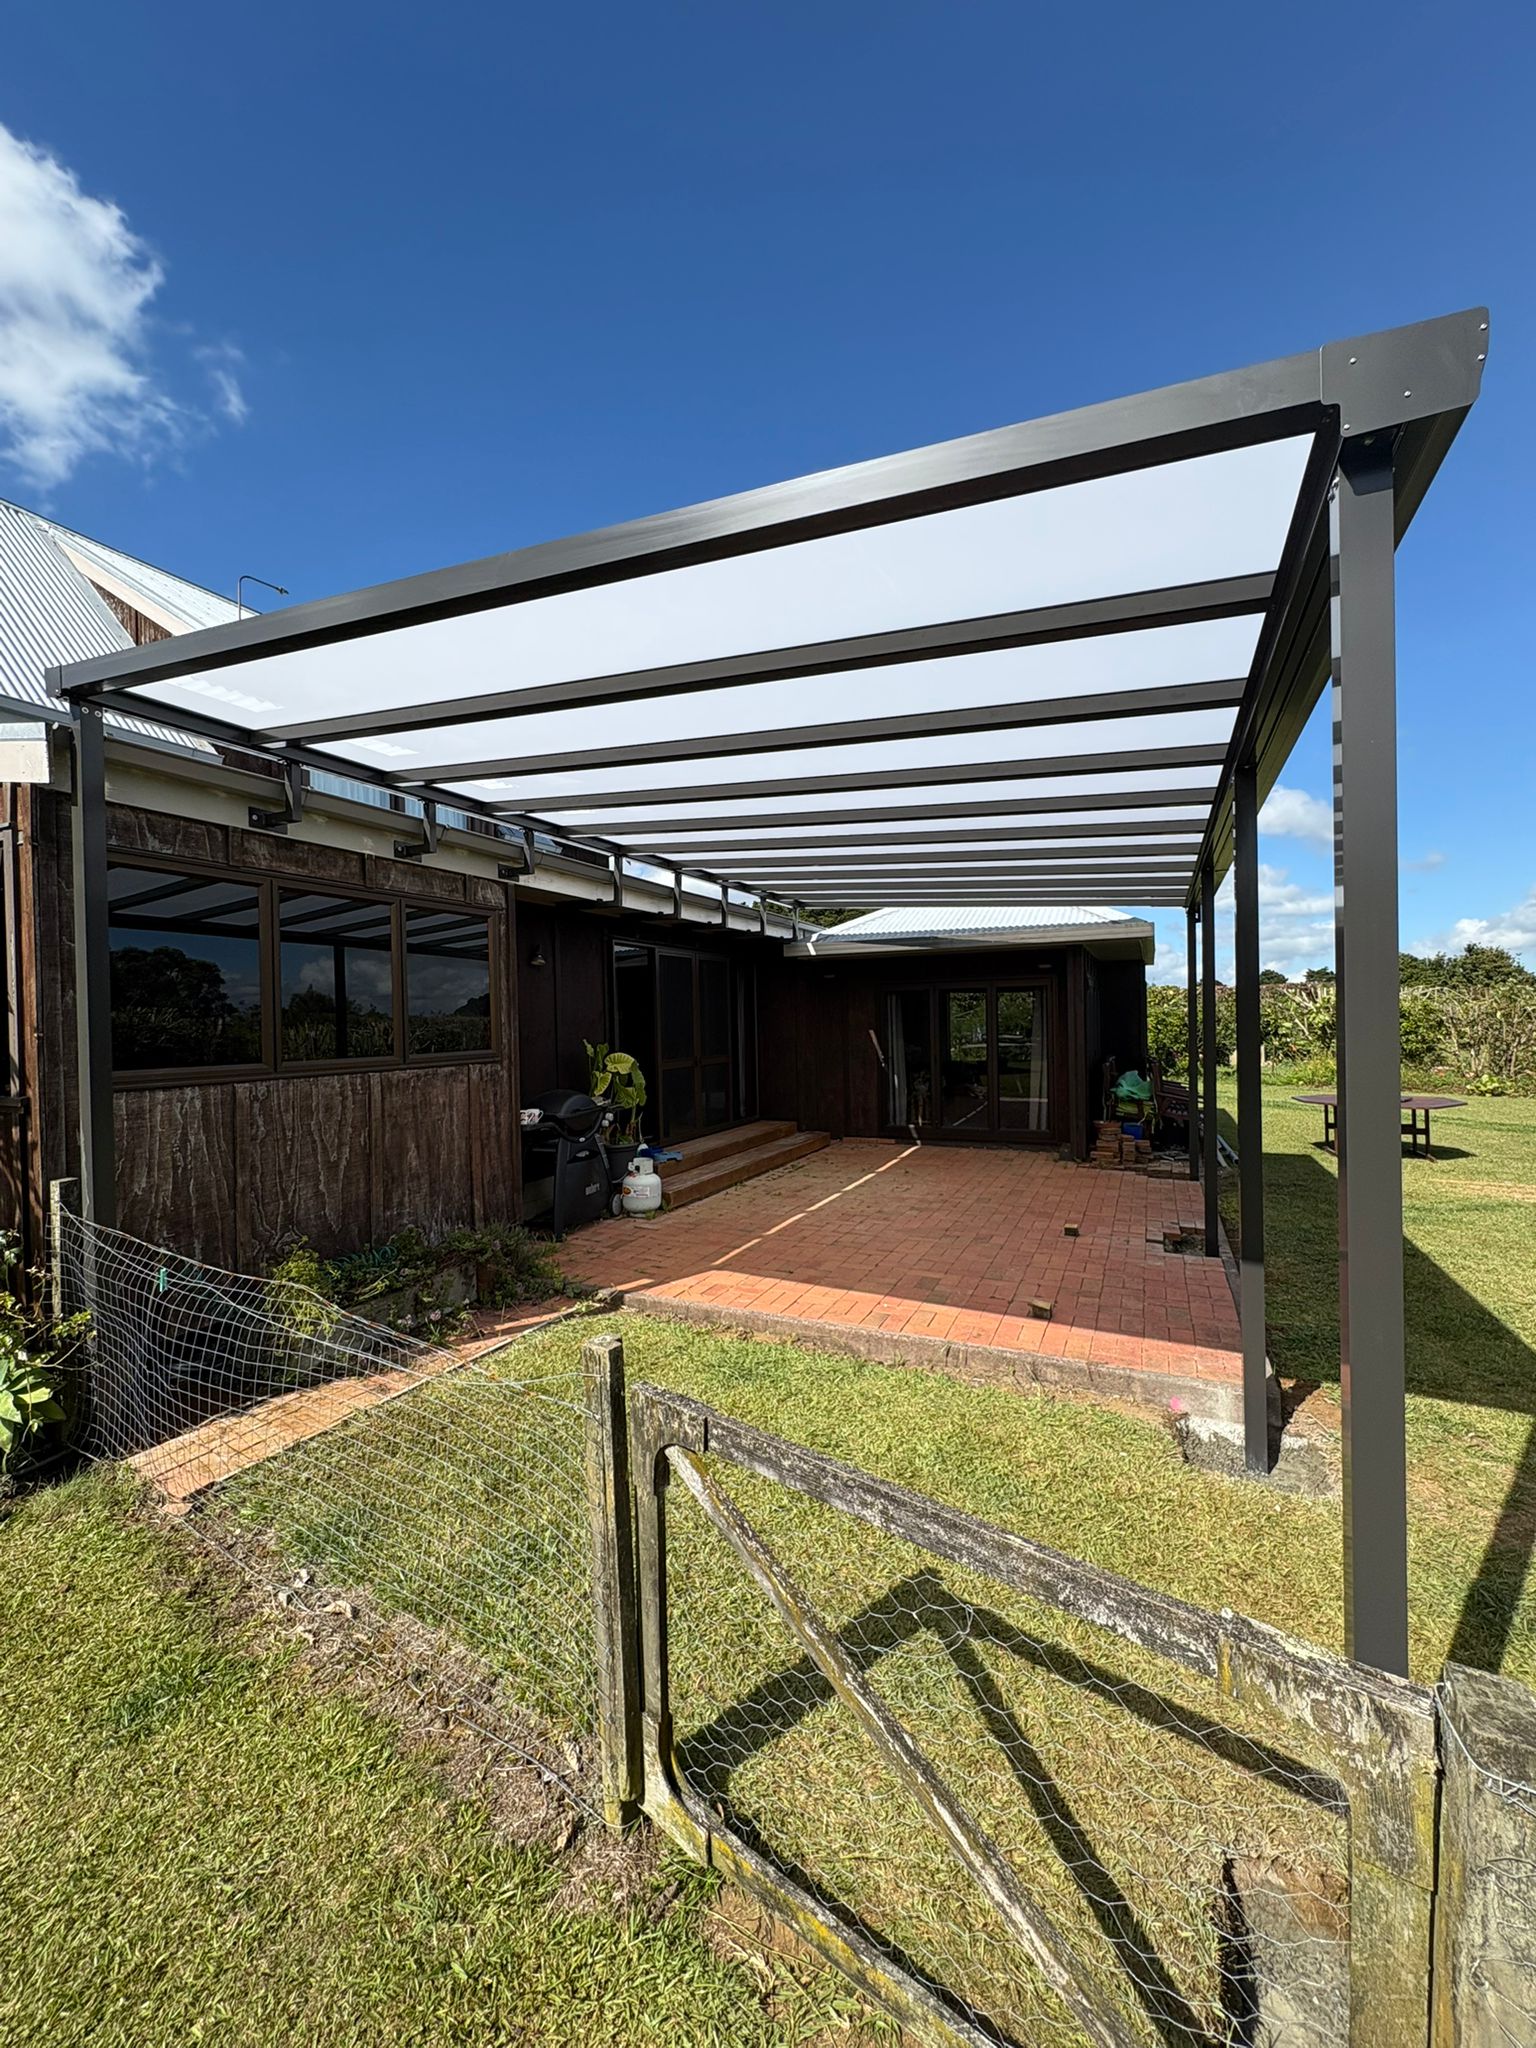
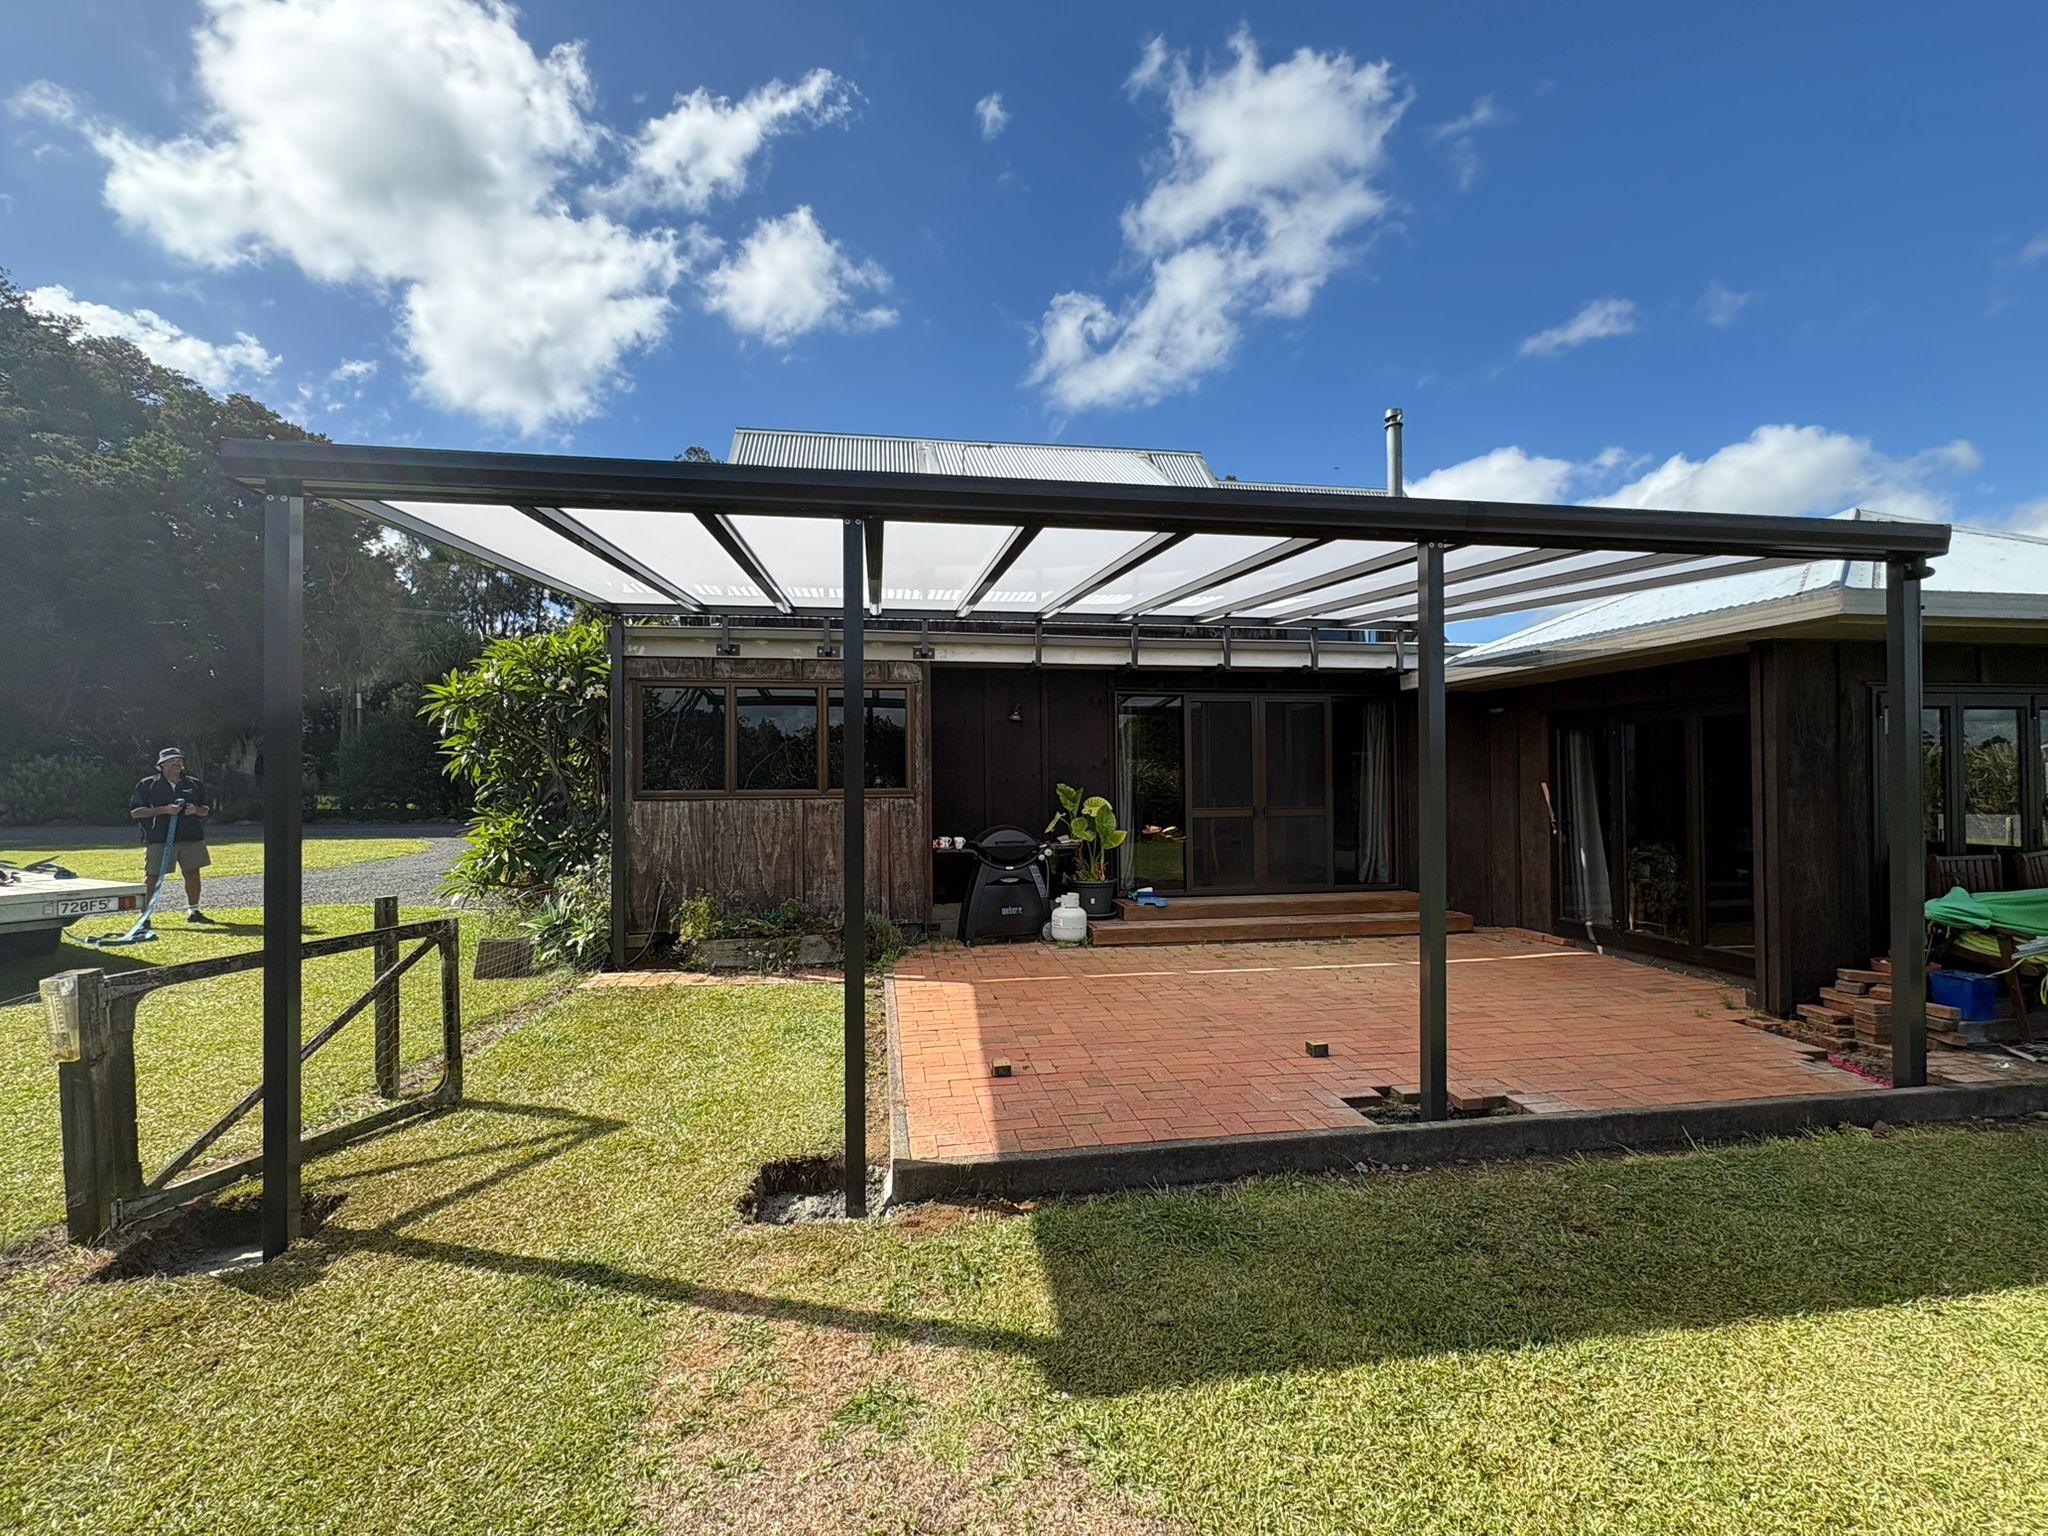
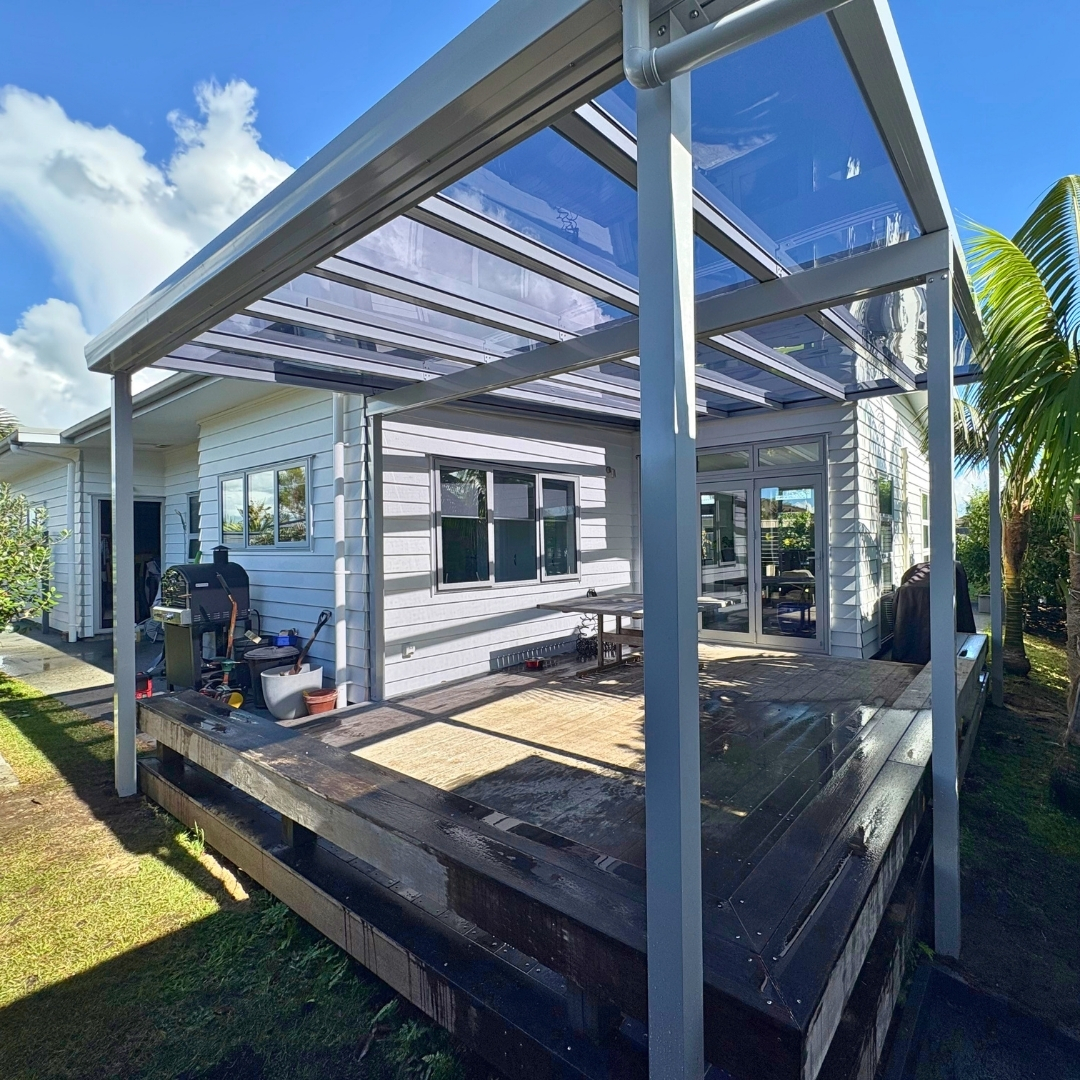
The finished result
The old roof had served its time, but the new Shadeland pergola has completely lifted the outdoor space.
It’s stronger, smarter, and designed for proper outdoor living — all while handling the practical details like secure footings, tidy roof integration, and effective water management.
If you’re thinking about upgrading an outdoor area or replacing an older patio cover, a pergola build like this can transform how the space is used and enjoyed throughout the year.
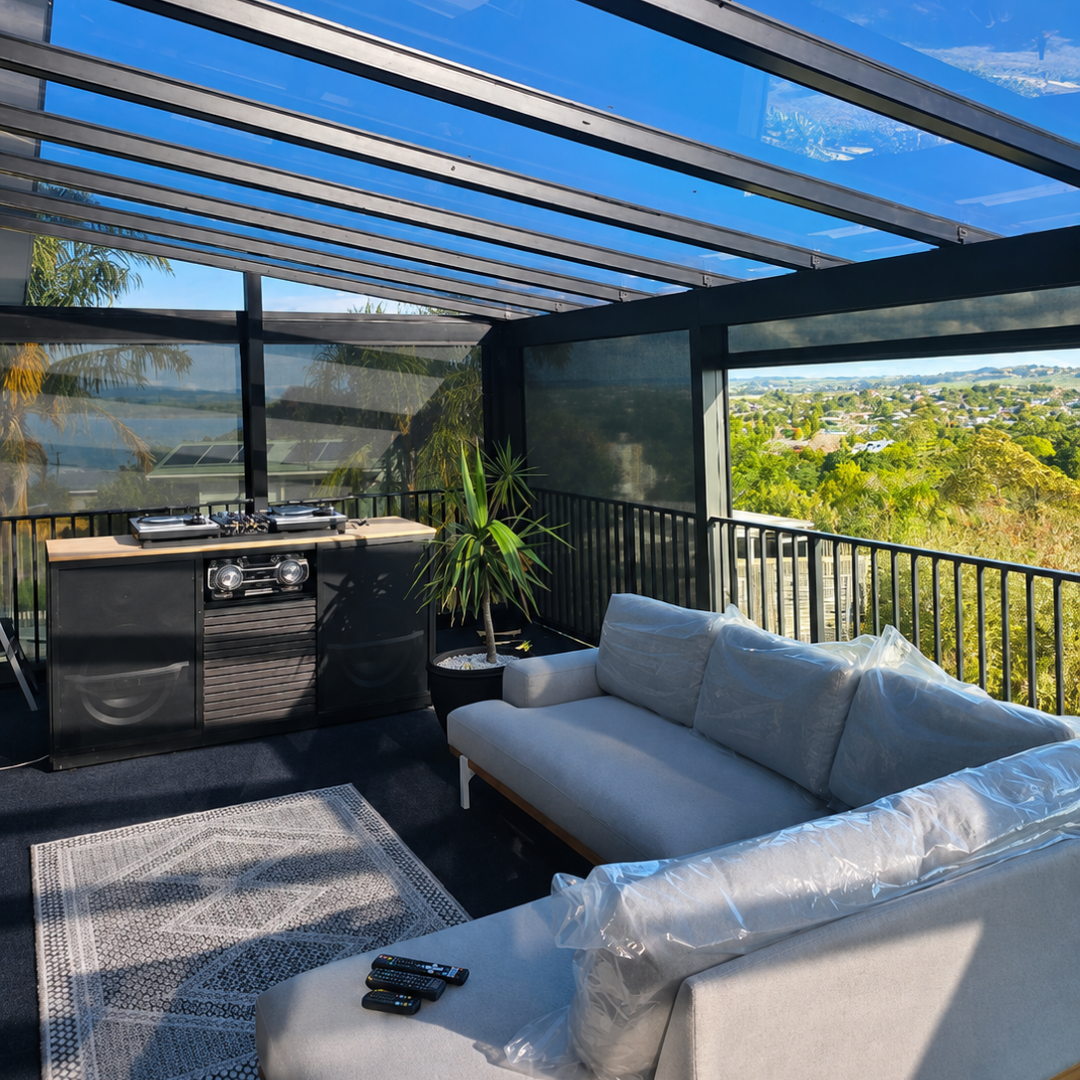
Project Gallery


Explore Related Projects
Discover more of our installations that utilize the same products.
Residential
Major Outdoor Living Transformation in Onerahi
A complete second-storey deck transformation in Onerahi featuring a custom pergola, Ziptrak blinds, dual drainage and year-round outdoor living.
.jpg)
Residential
A Fully Enclosed Outdoor Space with Pergola, Blinds & Infill
This Northland pergola project combines blinds and infill panels to create a sheltered, modern outdoor space designed for year-round comfort.
Residential
Shadeland Canopy Installation in One Tree Point
A custom canopy in One Tree Point adds shade and shelter, transforming a deck into a comfortable outdoor space for year-round use.