Step-by-Step Deck Shade Solution with a Rotating Umbrella in Tikipunga
Step 1:Understanding what the homeowners wanted
For this project in Tikipunga, the homeowners wanted a simple way to add shade over their deck. The deck is attached to the house and already worked well as an outdoor living space, but it needed better protection from the sun to make it more comfortable to use.
They were after a solution thatwas easy to operate and didn’t feel overly complicated or bulky in the space.
Step 2:Choosing the right shade solution
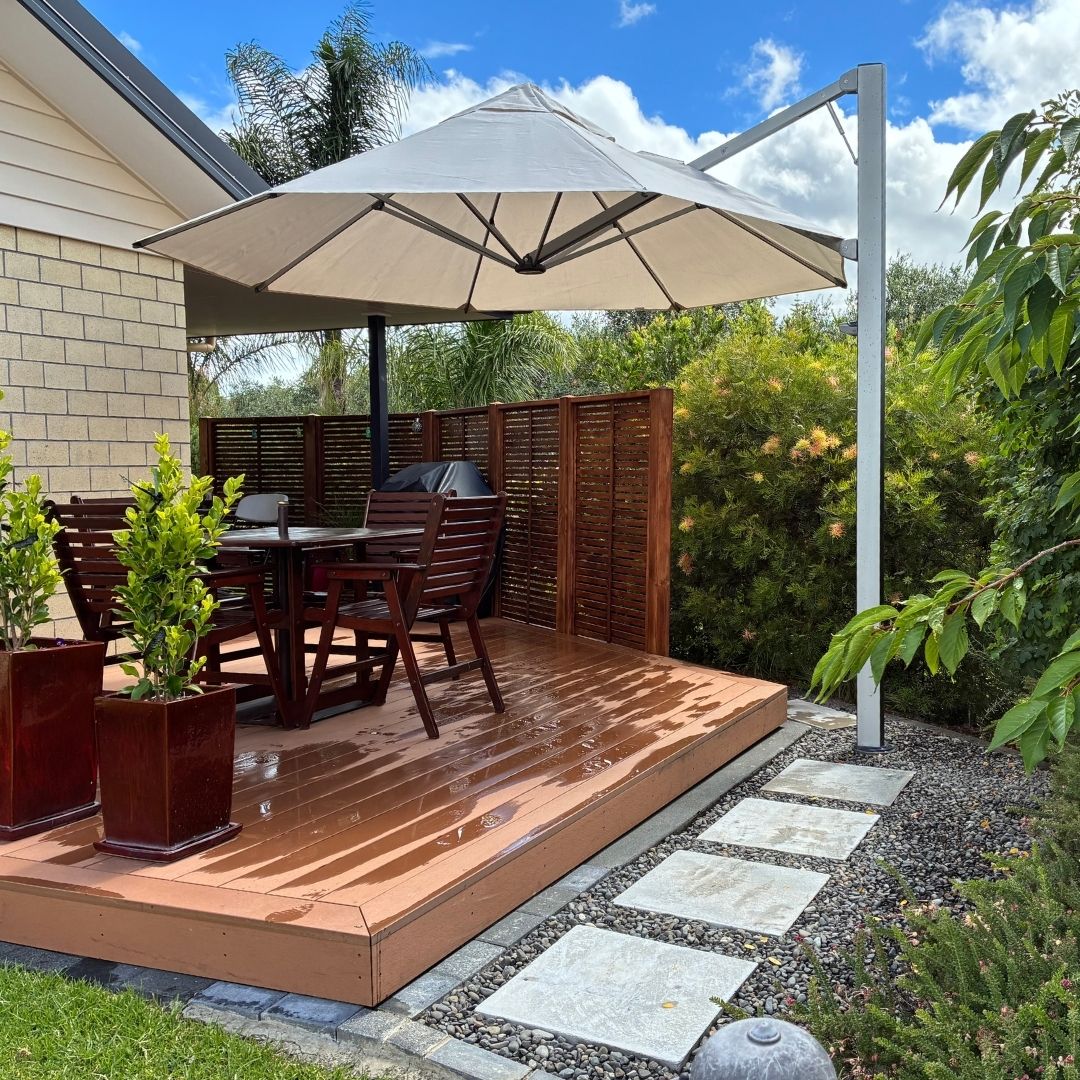
To suit the space and the waythe couple wanted to use it, our team recommended a rotating umbrella.
This was the right fit becauseit offered the flexibility they were looking for. It could be opened and closedeasily, and the rotating function meant they could move the shade around thedeck as the sun changed position during the day. That gave them better coveragewithout needing a fixed structure over the whole area.
Step 3:Planning for a secure installation
Because the umbrella needed to be properly supported, the installation had to follow the manufacturer’sguidelines. A strong foundation was important to make sure the umbrellaremained stable and performed as it should over time.
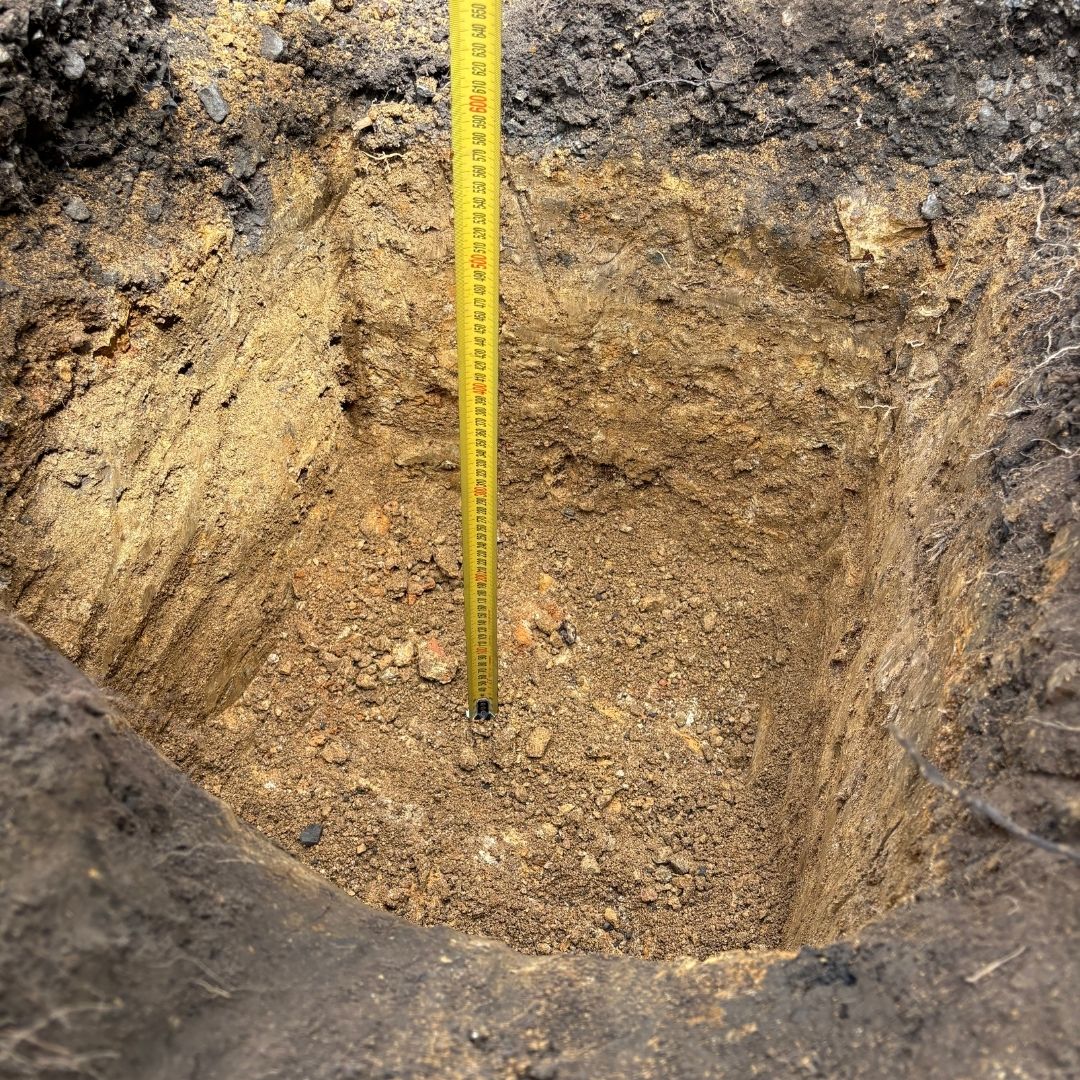
That meant preparing a concretefooting that suited the umbrella size we were installing. We also had tocarefully measure out the turning circle off the umbrella making sure we couldmove around the deck between the house and the trees.
This is one of the features of this specific product the ability to move it around so we wanted to maximise this for the customer.
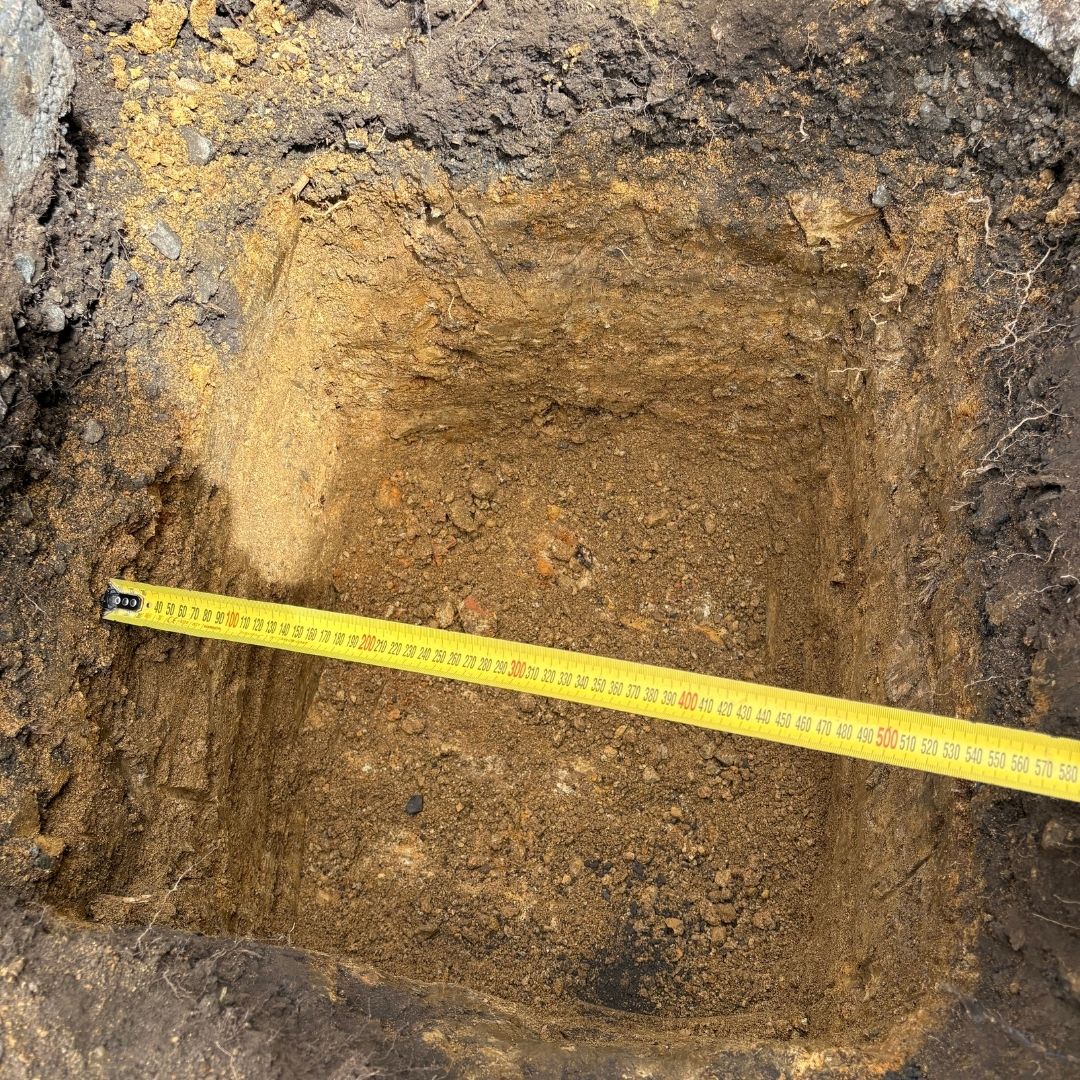
Step 4:Excavating and preparing the footings
Our team dug out 500 x 500 footing to create a solid base for the umbrella installation. This was hand dug no machinery involved. After a conversation of some sprinklers possibly running through, we took extra care to avoid any lines in the ground below.
This part of the job was all about making sure the structure below ground was as reliable as the umbrella itself. Getting the footing right is a key part of the overall result, especially for a product that needs to remain secure while still being easy to use.
Step 5:Installing the anchor plate
Once the footing was prepared,an anchor plate was set into the concrete footing in line with themanufacturer’s guide.
This created a secure fixingpoint for the umbrella and ensured the finished installation was both stableand tidy. With the structural side taken care of, the umbrella could then bemounted with confidence.
Step 6:Finishing the umbrella installation
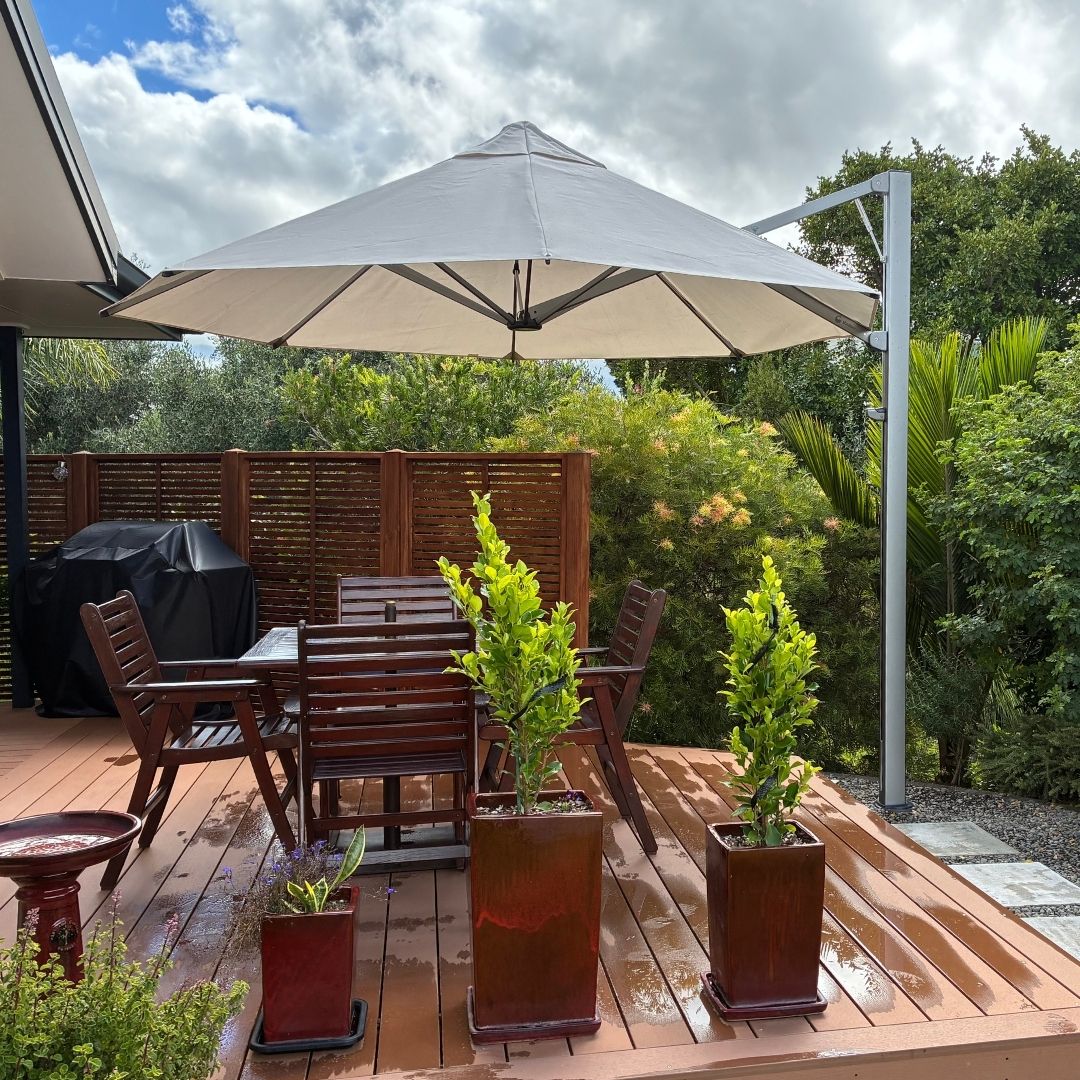
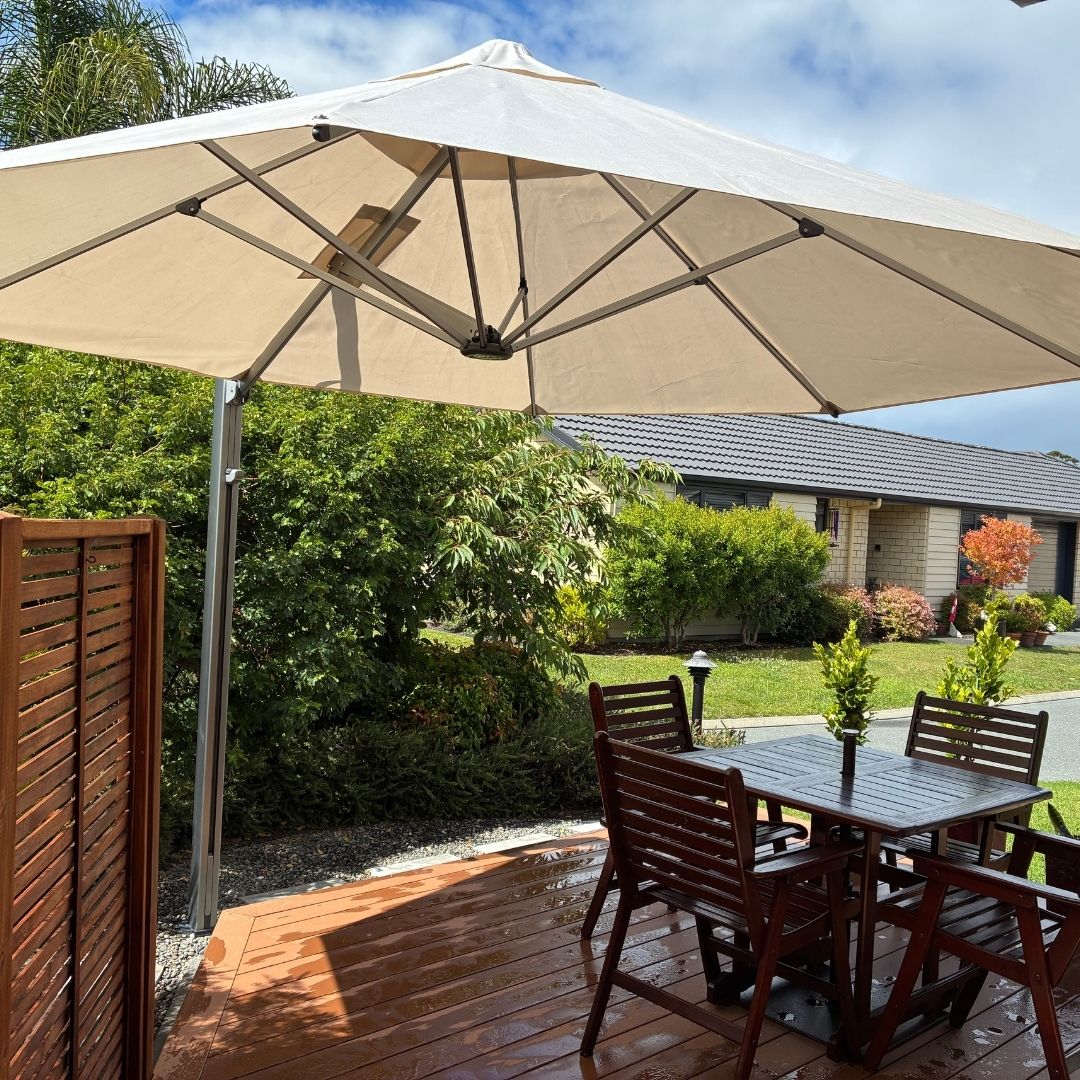
The umbrella chosen for theproject featured a light cream canopy, which suited the home nicely andkept the look soft and clean against the deck area.
With the umbrella in place, thehomeowners had an easy to use shade solution that could be adjusted as neededthrough the day.
Step 7: Thefinished result
The completed installation gavethe couple exactly what they were after. With practical shade over their deck alongwith the added benefit of flexibility to move it around.
One of the things they likedmost was the simplicity of it. It goes up and down easily, andbecause it can spin, it gives them extra cover around the deck to follow thesun. The end result is a straightforward outdoor shade solution that makes thedeck more comfortable and more usable.
Along with the weather proofcovering Shadeland offers to keep up covered and protected for those rainy daysnot in use!
Project Gallery

Explore Related Projects
Discover more of our installations that utilize the same products.

Residential
A Shady Solution in Bream Bay: Maxine’s Dual Umbrella Setup
A clever dual umbrella install in Bream Bay gave Maxine the shade she wanted without giving up deck space just in time for summer.
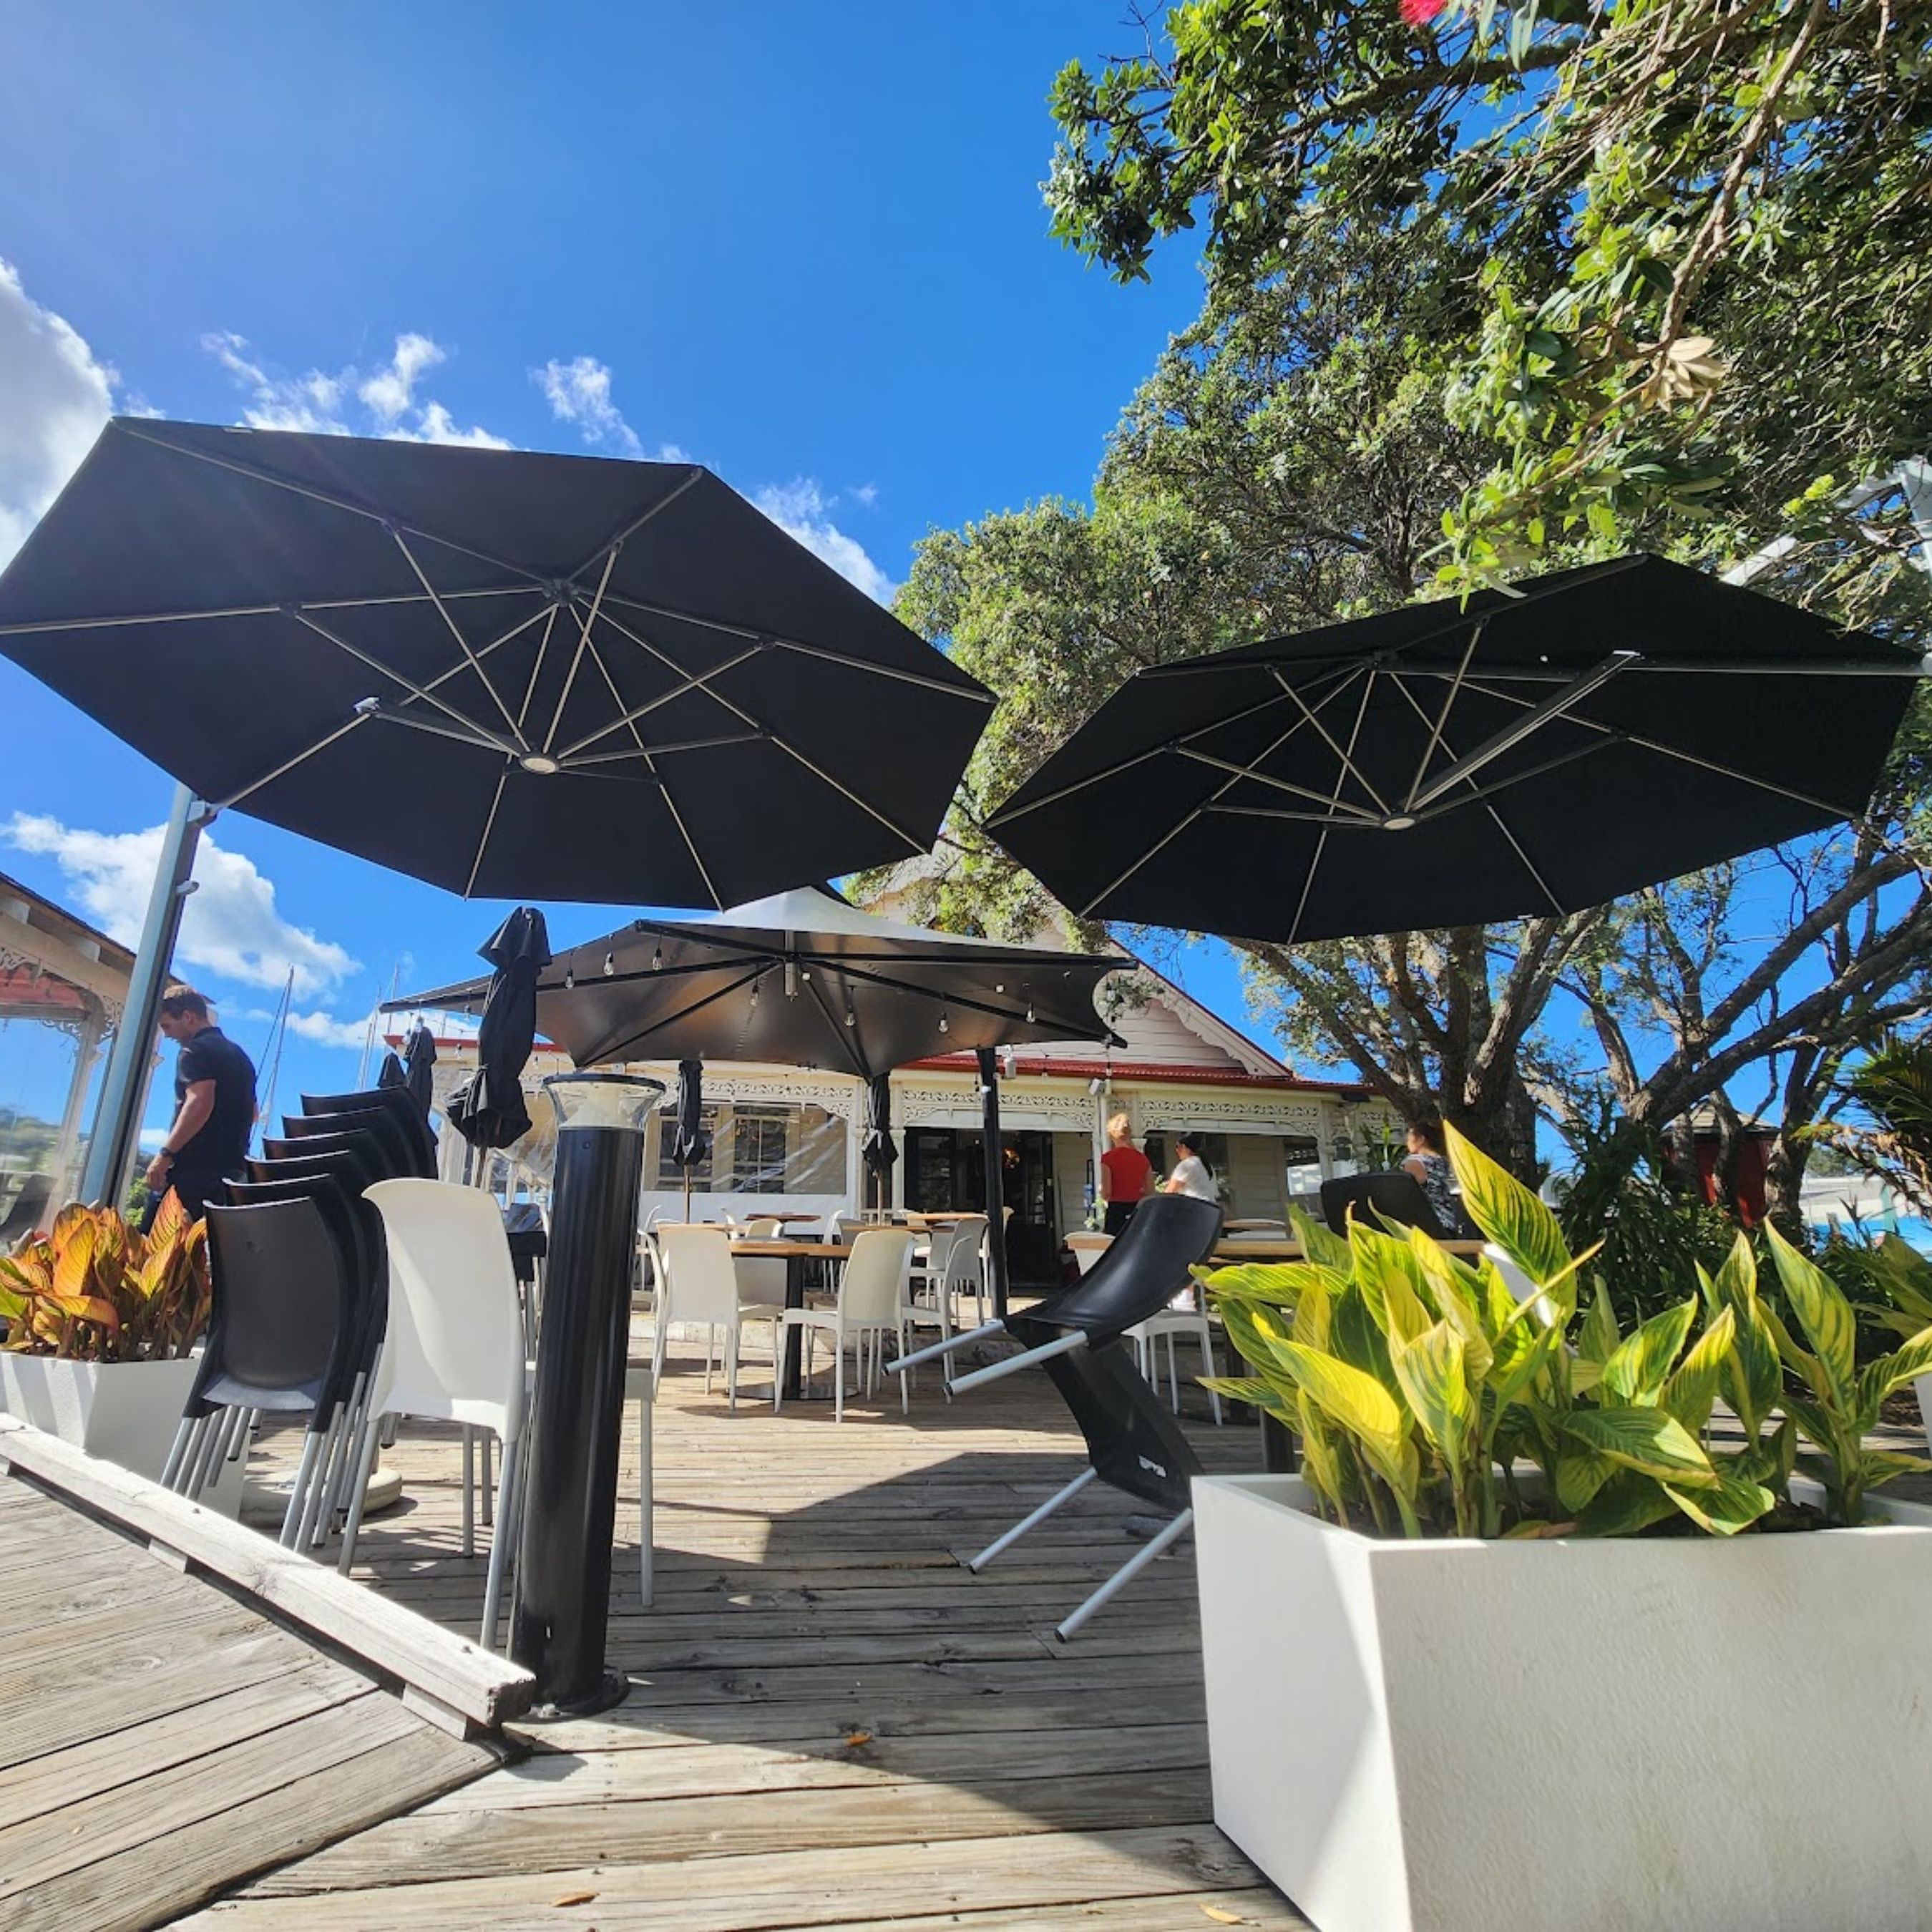
Commercial
Local Shade That Lasts — ShadowSpec Umbrellas at The Quay
Experience shade made for Northland. Visit The Quay in Whangārei to see our ShadowSpec umbrellas in action, proudly stocked locally by Shadeland.